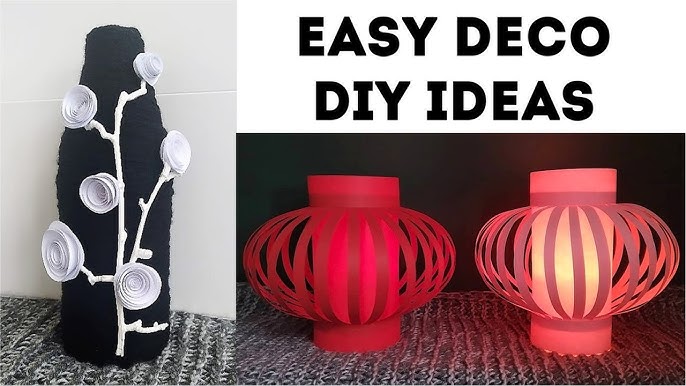
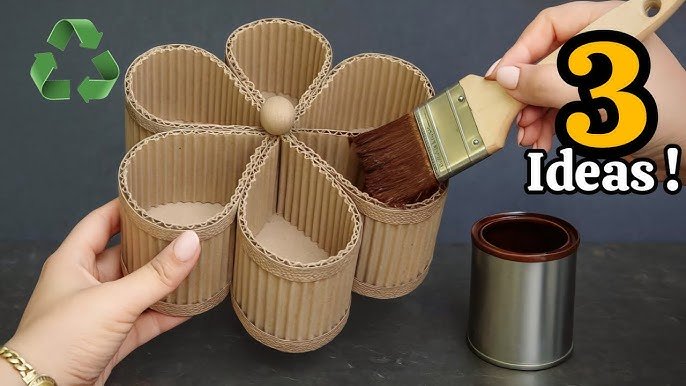
Do you love lanterns? They can be so beautiful. You can hang them anywhere. They light up your world. But sometimes, they can be expensive. Don’t worry! You can make your own. It’s easy and fun.
Why Make DIY Lanterns?
DIY means Do It Yourself. Making things yourself is special. It feels good to create something. You can make it just how you want. You can also save money. Plus, you learn new skills.
Things You Need
Let’s start with the basics. You don’t need many things. Here is a list:
- Paper: Any paper will work. Try colored or plain white.
- Scissors: Be careful when you cut.
- Glue: A small glue stick is good.
- String: For hanging your lantern.
- Battery Candle: No fire danger. Safe for kids.
Step-by-Step Guide
Let’s make a simple paper lantern. Follow these steps. Ask an adult for help if you need.
Step 1: Prepare The Paper
First, take your paper. Fold it in half. The fold is important. It makes cutting easier.
Step 2: Cut The Paper
Now, use your scissors. Cut strips from the folded edge. Do not cut all the way through. Leave one inch at the top.
Step 3: Open The Paper
Open the paper. You will see a pattern. It looks like a fan.
Step 4: Form The Lantern
Roll the paper into a tube. Make sure the cuts go from top to bottom. Glue the edges together.
Step 5: Add The Handle
Cut a strip of paper. Glue it to the top. Now you have a handle.
Step 6: Add The Light
Place a battery candle inside. Do not use real candles. They can start fires.
Ideas for Decoration
Your lantern is ready. But you can make it even prettier. Here are some ideas:
- Paint: Use bright colors. Make patterns or shapes.
- Stickers: Stick them all over. Stars, hearts, or whatever you like.
- Glitter: Add sparkle. Glue it on carefully.
- Ribbons: Tie them to the handle. Let them hang down.
Lanterns for Different Occasions
Lanterns are great for many events. Here are some ideas:
- Parties: Hang them in trees. They make a party special.
- Holidays: Decorate for Christmas or Halloween.
- Weddings: Use white paper. They look elegant.
- Everyday: Hang them in your room. They are a nice touch.
Benefits of Making DIY Lanterns
There are many reasons to make your own lanterns. Here are a few:
- Cost-Effective: Save money. Store-bought lanterns can be pricey.
- Personalized: Make them to your taste. Each one is unique.
- Eco-Friendly: Use recycled materials. Help the environment.
- Family Activity: Fun for all ages. Work together.

Credit: www.amazon.ca
Safety Tips
Safety is important. Always keep these tips in mind:
- Supervision: Kids should have an adult nearby.
- Scissors: Be careful. They are sharp.
- Glue: Keep it away from eyes and mouth.
- Battery Candles: Only use battery candles. No real flames.

Credit: www.youtube.com
Frequently Asked Questions
Here are answers to some common questions:
- Can I use different materials? Yes, be creative.
- How long do they last? They last a long time if careful.
- Where to hang them? Anywhere you like. Trees, rooms, or patios.
Frequently Asked Questions
What Materials Do I Need For Low Cost Diy Lanterns?
Basic items like jars, candles, wire, glue, and paper work well for cheap lanterns.
How Long Does It Take To Make A Diy Lantern?
Most DIY lanterns take about 30 to 60 minutes to create.
Can I Use Recycled Items For Diy Lanterns?
Yes, recycled jars, bottles, and tin cans are perfect for budget lanterns.
Are Diy Lanterns Safe To Use Indoors?
Yes, as long as you use LED candles or keep flames away from flammable parts.
Conclusion
Making DIY lanterns is easy and fun. You can save money and enjoy a new hobby. Plus, they make any event special. So grab your supplies and start today. Happy crafting!
4 min read

