
Drip irrigation is a smart way to water plants. It saves water and helps plants grow well. If you want to water your garden or farm carefully, drip irrigation is a good choice. This article will help you set up drip irrigation step by step. You will learn what you need and how to do it.
What Is Drip Irrigation?
Drip irrigation is a method to water plants slowly. Water drops come out near the plant roots. This way, plants get water directly. It is different from sprinklers that spray water in the air. Drip irrigation uses less water and helps plants stay healthy.
Why Use Drip Irrigation?
- Saves water: Water goes straight to the plants.
- Reduces weeds: Only the plants get water, not the whole soil.
- Healthier plants: Water near roots helps plants grow better.
- Easy to use: You can set it up yourself at home.
What You Need for Drip Irrigation Setup
Before starting, get these parts ready. You can buy them at garden stores or online.
| Item | Purpose |
|---|---|
| Main water source | Where water comes from (tap, tank, or pipe) |
| Filter | Keeps dirt out of pipes to stop clogs |
| Pressure regulator | Controls water pressure for drip lines |
| Drip tubing | Main pipe to carry water to plants |
| Drip emitters | Small devices that release water drops |
| Connectors and fittings | Join tubes and parts together |
| Timer (optional) | Controls when and how long to water |
Step-by-Step Drip Irrigation Setup
Step 1: Plan Your Garden Layout
Look at your garden or farm. Think about which plants need water. Draw a simple map. Mark where each plant is. This will help you place tubes and emitters correctly.
Step 2: Choose Your Water Source
Find where your water will come from. It can be a garden tap, rain barrel, or water tank. Make sure the water source is strong enough to supply all plants.
Step 3: Install A Filter And Pressure Regulator
Attach a filter to the water source. This stops dirt from blocking your tubes. Then, add a pressure regulator. It keeps water pressure low and steady. Too much pressure can break tubes.
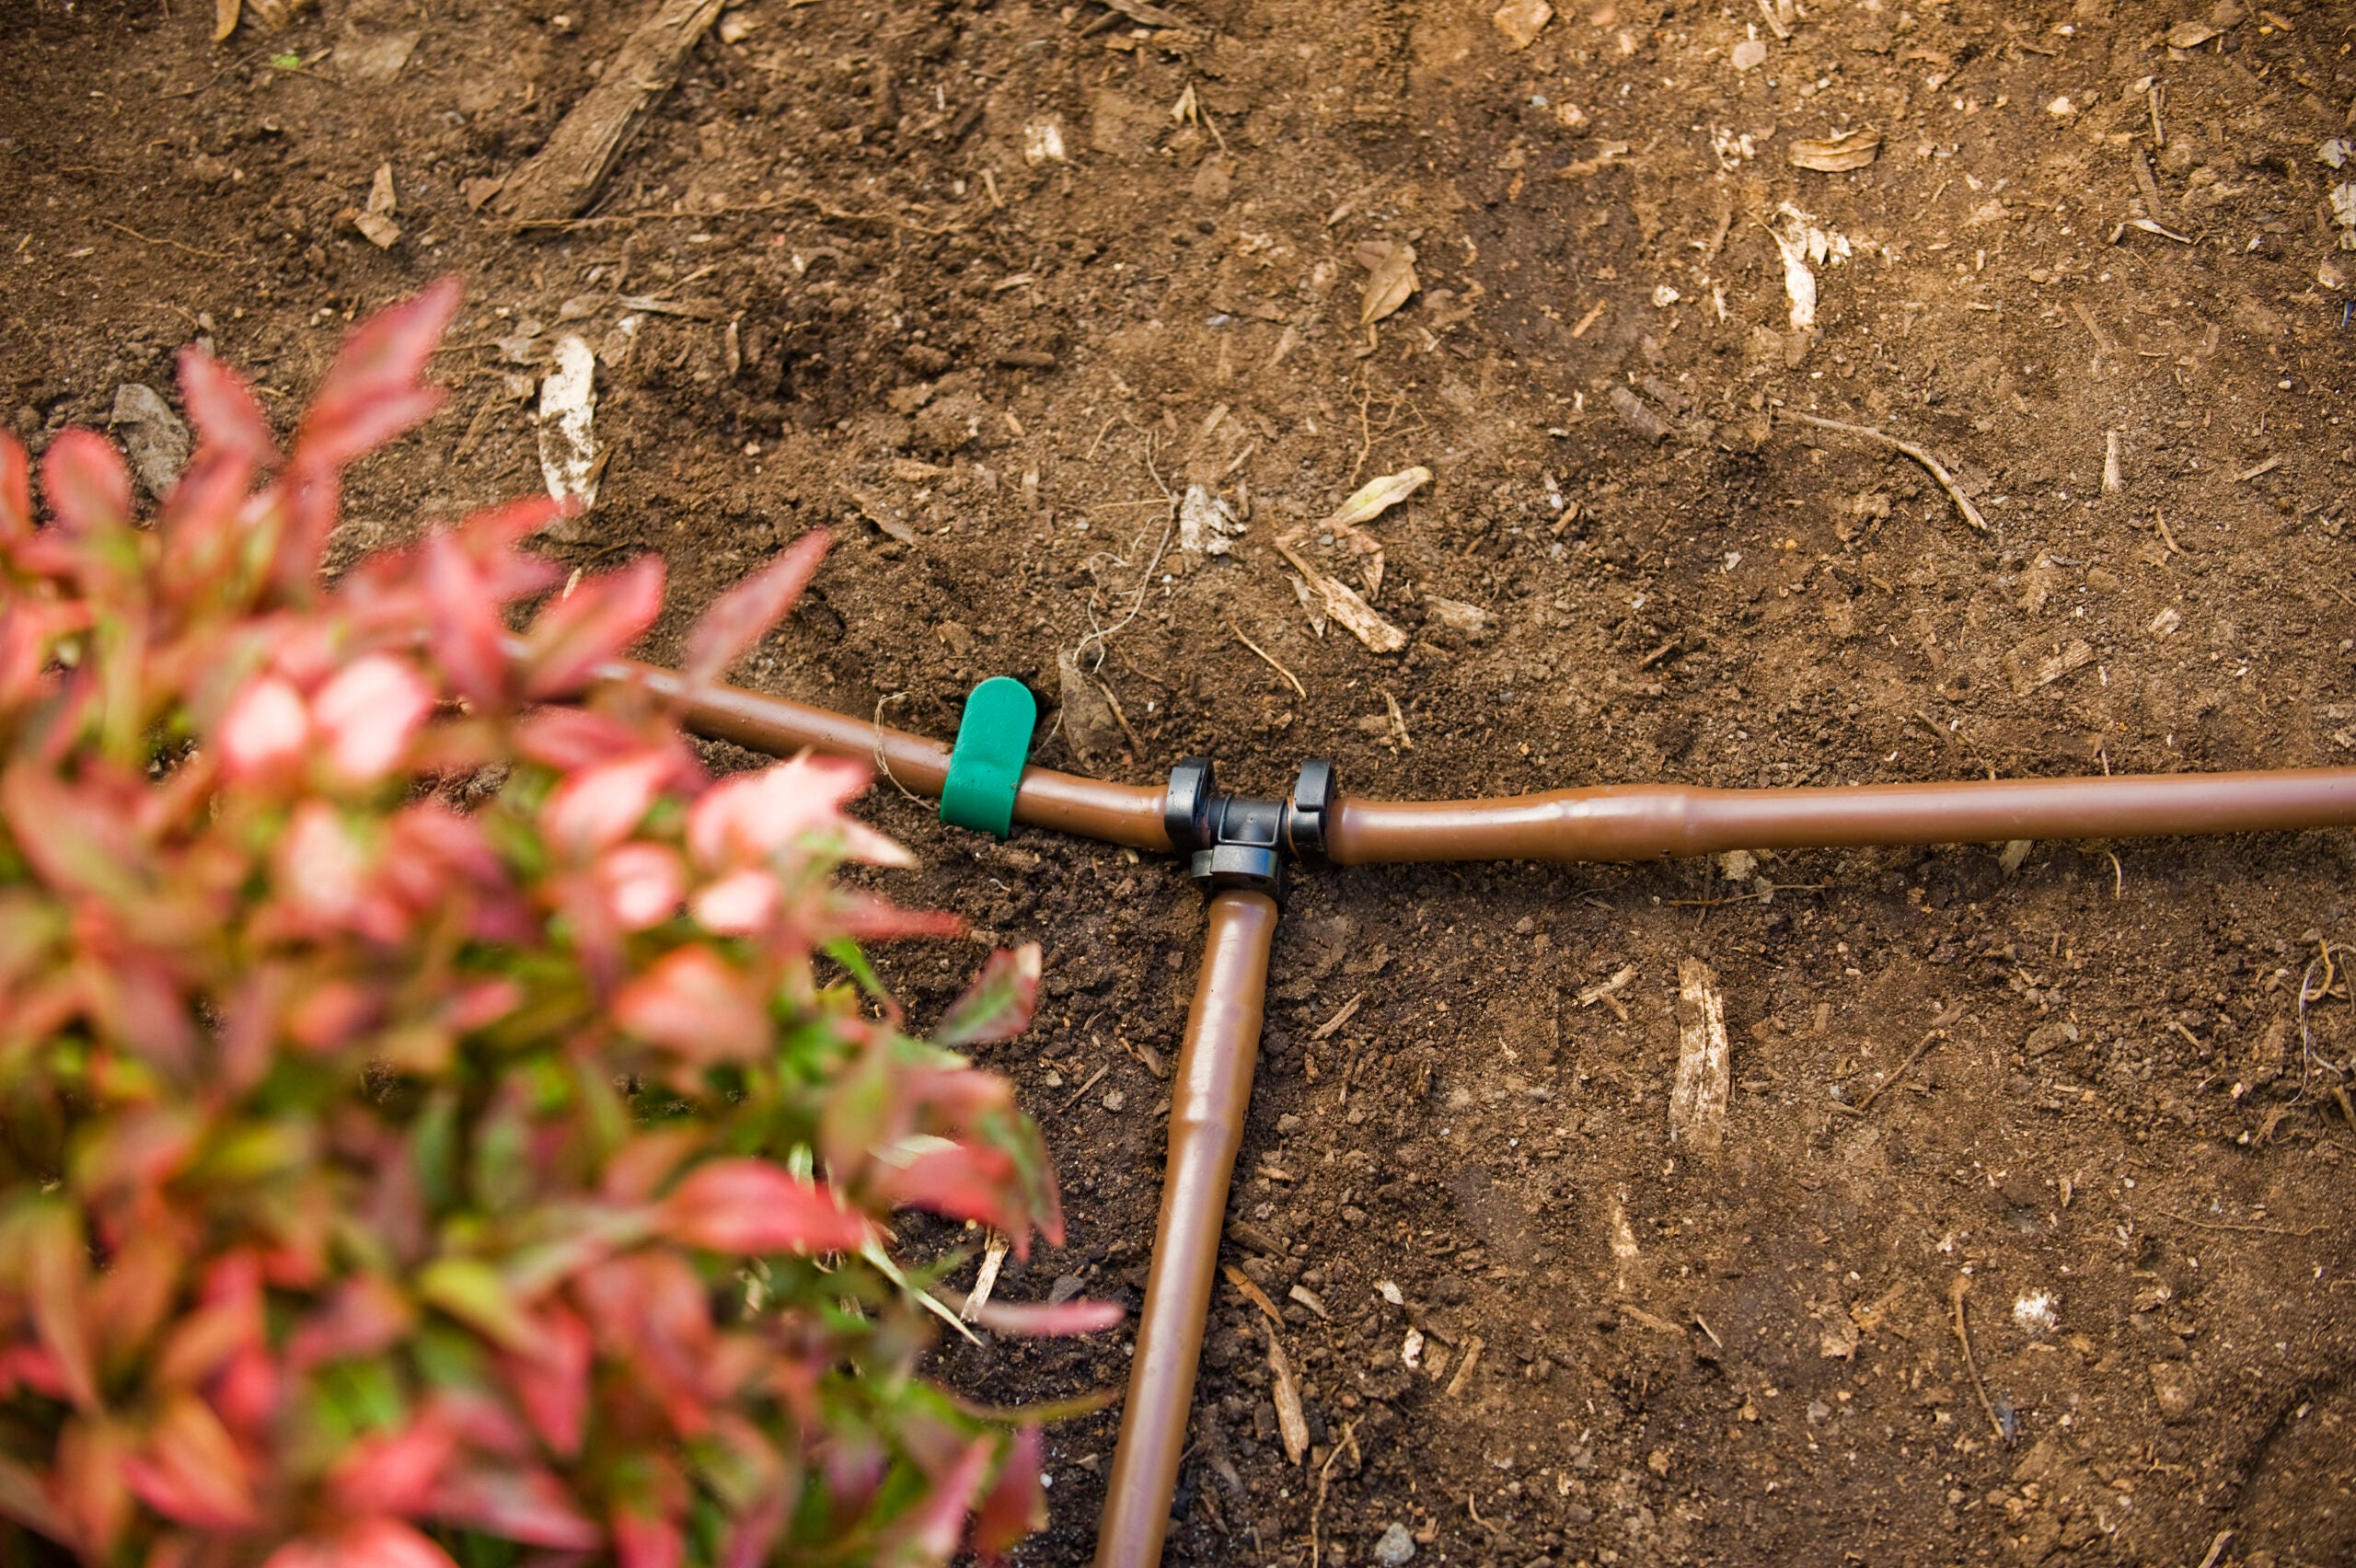
Step 4: Lay Out The Main Tubing
Roll out the main drip tubing along your garden beds. Place it near the plants but not on them. Use stakes to hold the tubing in place. Cut the tubing to fit your layout.
Step 5: Add Drip Emitters
Punch small holes in the tubing near each plant. Insert drip emitters into these holes. Emitters control how much water each plant gets. Choose emitters based on plant size and water needs.
Step 6: Connect Tubing And Fittings
Use connectors to join tubing pieces. Make sure all connections are tight. This stops water leaks. If you need to turn corners, use elbow fittings.
Step 7: Test Your System
Turn on the water. Check each emitter. Water should drip slowly and evenly. Look for leaks or blocked emitters. Fix any problems before covering tubes with soil or mulch.
Step 8: Set A Watering Schedule
If you have a timer, set it to water plants at the best times. Early morning or late evening is best. If no timer, water plants by hand. Water every day or every few days depending on weather and plants.

Credit: carpathen.com
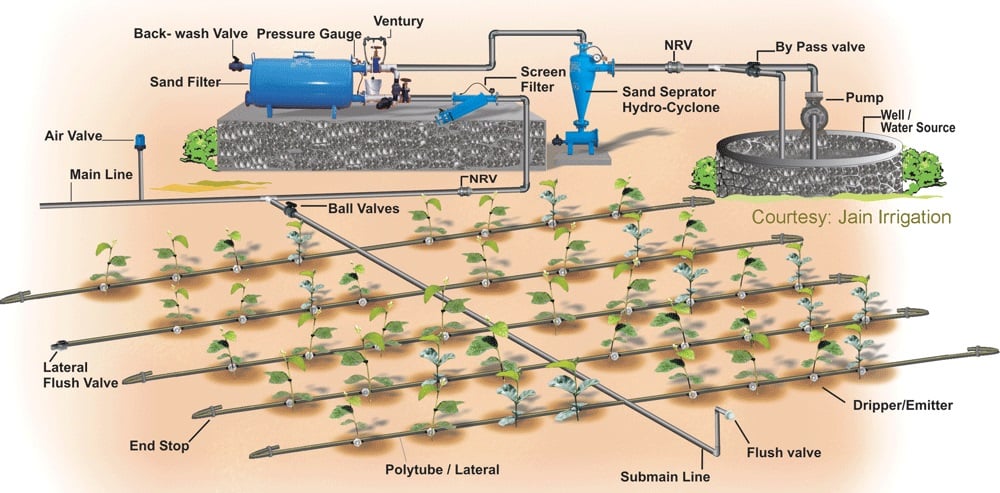
Credit: interestingengineering.com
Tips for Using Drip Irrigation
- Keep tubes clean: Flush the system sometimes to clear dirt.
- Check emitters often: Make sure water flows well.
- Use mulch: Mulch helps keep soil moist longer.
- Adjust water flow: Change emitters if plants need more or less water.
- Protect tubes: Avoid stepping on tubes or sharp tools.
Advantages of Drip Irrigation
Drip irrigation has many benefits for gardeners and farmers. Here are some main advantages:
| Benefit | Explanation |
|---|---|
| Water Efficiency | Uses up to 50% less water than sprinklers. |
| Better Plant Health | Water reaches roots directly, reducing disease. |
| Weed Control | Water only reaches desired plants, not weeds. |
| Easy to Manage | Simple to install and adjust for plant needs. |
| Time Saving | Automated systems save time watering. |
Common Problems and How to Fix Them
Sometimes, drip irrigation may not work well. Here are common problems and solutions:
- Clogged Emitters: Clean or replace emitters often.
- Leaks in Tubing: Check connections and replace damaged tubes.
- Low Water Pressure: Use a pressure regulator or check water source.
- Uneven Water Flow: Adjust or add emitters where needed.
Frequently Asked Questions
How Does Drip Irrigation Benefit Plants?
Drip irrigation provides water directly to plant roots. This reduces water waste and promotes healthy growth.
What Equipment Is Needed For Drip Irrigation Setup?
You’ll need a water source, tubing, emitters, and connectors. These are the basics for a drip irrigation system.
Can Drip Irrigation Save Water?
Yes, it uses less water than traditional methods. It targets the root zone, reducing evaporation and runoff.
How Often Should I Water With Drip Irrigation?
Watering frequency depends on plant type and soil. Generally, once or twice a week is sufficient.
Conclusion
Setting up drip irrigation is easy and helpful. It saves water and keeps plants healthy. With simple parts and steps, anyone can install it. Plan your garden, gather materials, and start your drip irrigation today. Your plants will thank you with strong growth and fresh leaves.
Remember, drip irrigation helps you water smartly. It makes gardening easier and better. Try it and enjoy a green, thriving garden.
5 min read