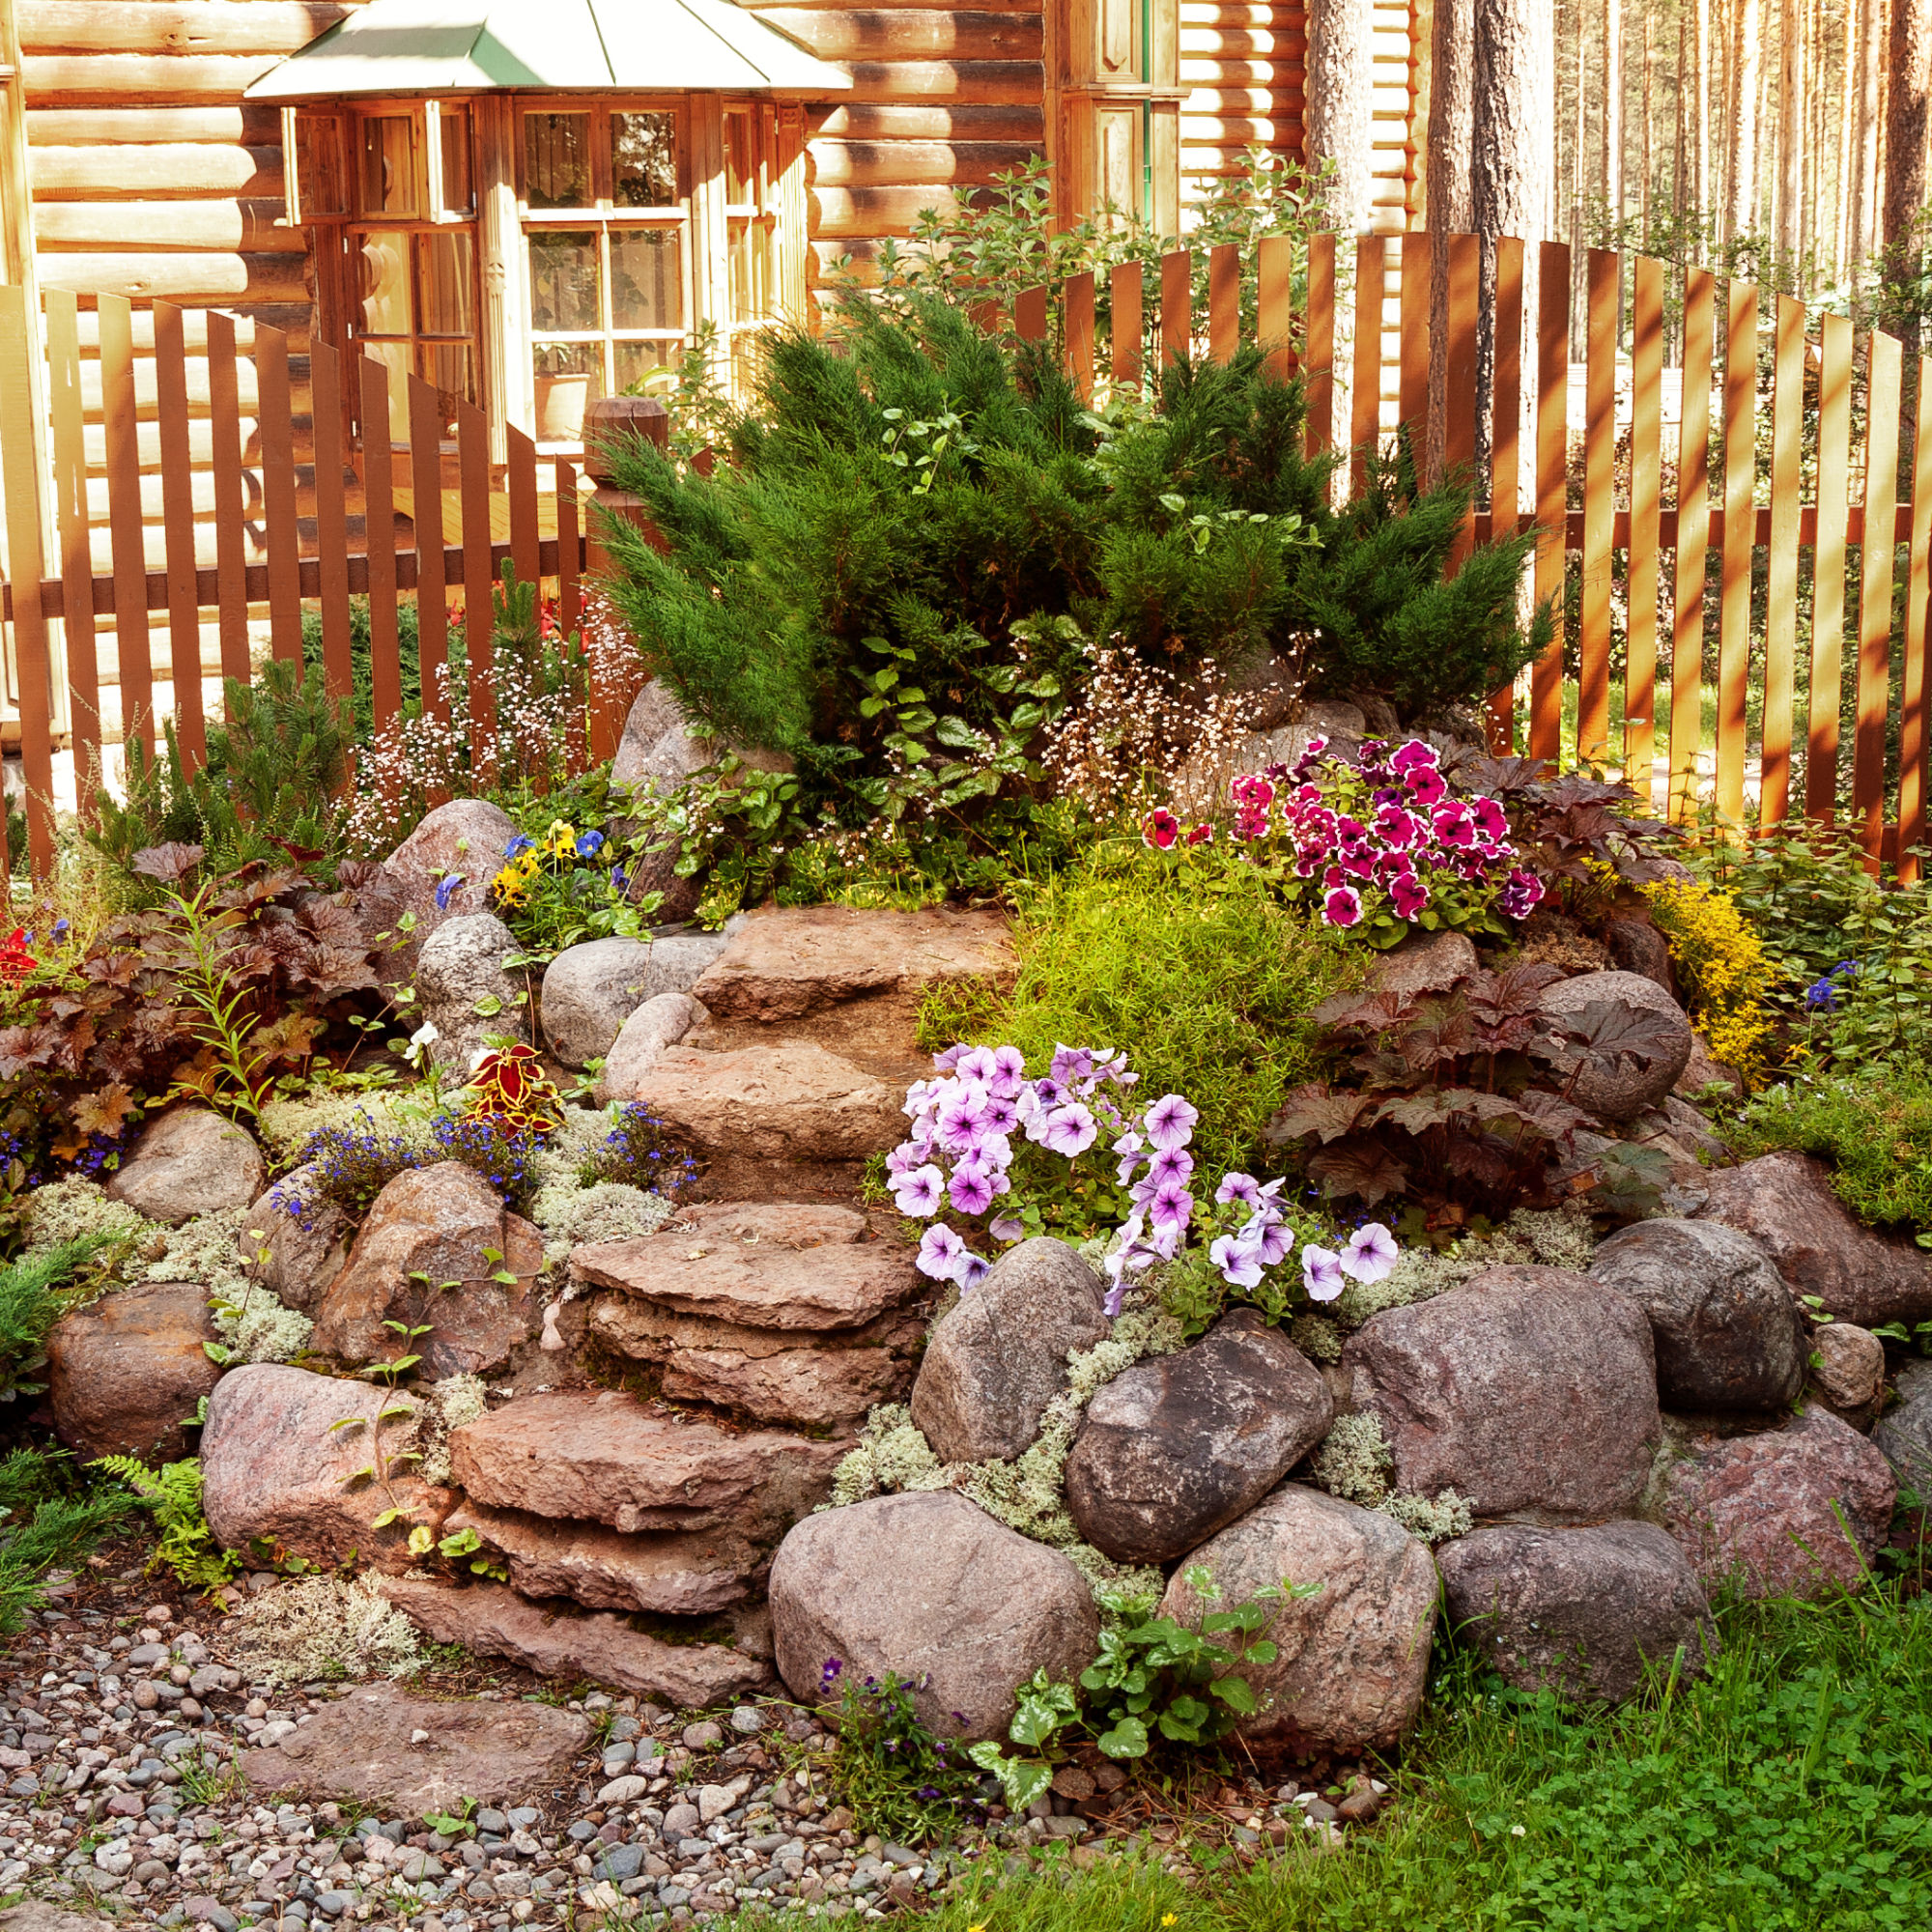
Do you want to make your garden look special? You can make stepping stones. Stepping stones are fun and easy to make. They can make your garden look nice. Plus, you can do it yourself and save money.

Credit: www.gardeningknowhow.com
Why Make Stepping Stones?
Stepping stones are good for gardens. They help you walk without stepping on plants. They can also make paths look pretty. You can use them to make a nice walkway. Kids can also help make stepping stones. It is a fun family project.
Materials You Need
To make stepping stones, you need a few things. Here is a list of what you need:
- Cement or concrete mix
- A mold (like a pie pan or a plastic tray)
- Water
- A bucket for mixing
- A stick for stirring
- Decorations (like pebbles, shells, or glass beads)
- Cooking spray or oil
- Old newspaper or cloth
You can get these items from a store. Some you might already have at home.
Step-by-Step Guide
Now, let’s make stepping stones. Follow these easy steps:
Step 1: Prepare The Area
First, choose a safe place to work. Lay down old newspaper or cloth. This will keep the area clean. It will also make it easy to clean up later.
Step 2: Prepare The Mold
Next, take your mold. Spray it with cooking spray or rub it with oil. This helps the stone come out easily. Make sure you cover all parts of the mold.
Step 3: Mix The Cement
Now, get your bucket. Put the cement mix in the bucket. Slowly add water. Stir it with the stick. Mix until it’s like thick pancake batter. Be careful not to make it too watery.
Step 4: Pour The Cement
Pour the cement mix into your mold. Fill it to the top. Tap the mold gently. This removes air bubbles. Smooth the top with the stick.
Step 5: Decorate Your Stone
Now, it’s time to decorate. Use pebbles, shells, or beads. Press them into the wet cement. Make any design you like. You can write your name or make a pattern.
Step 6: Let It Dry
Leave the mold in a safe place. Let it dry for 24 to 48 hours. Do not move or touch it while it dries. This helps the stone become strong.
Step 7: Remove The Stone
After it dries, turn the mold upside down. Gently tap the mold to release the stone. If it sticks, tap a little harder. Be careful not to break it.
Step 8: Place The Stone
Find a good spot in your garden. Dig a shallow hole for the stone. Place the stone in the hole. Make sure it is level with the ground. Now, you have a stepping stone path.
Tips for Success
Here are some tips to help you:
- Wear old clothes. Cement can be messy.
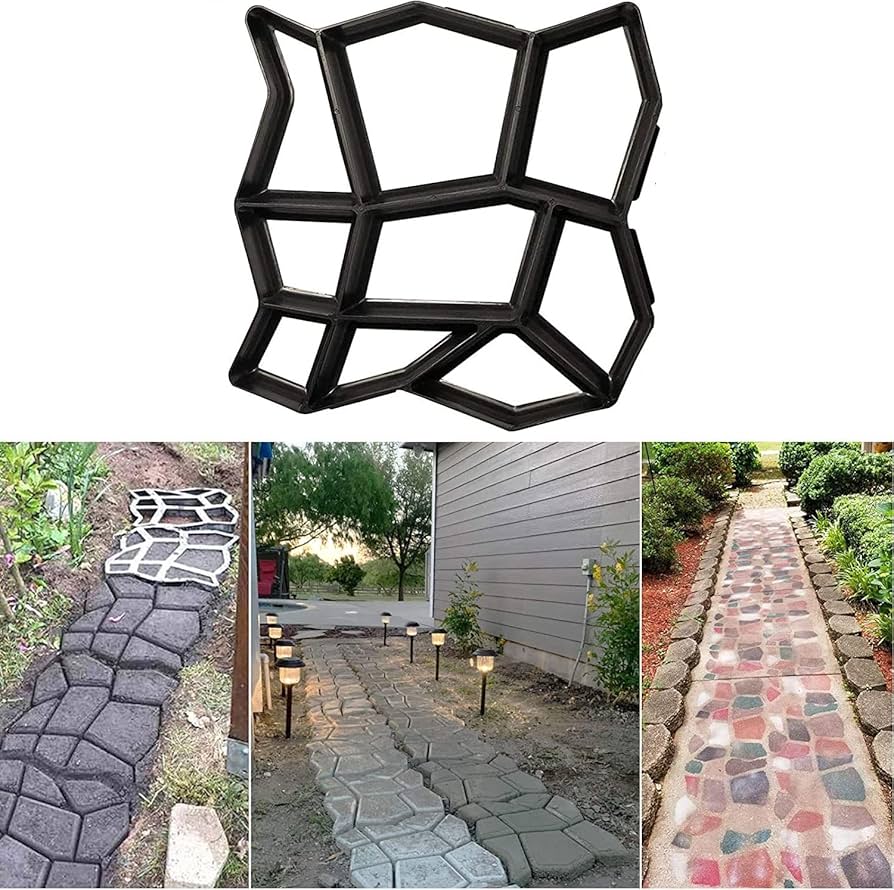
- Use different molds for fun shapes.
- Try adding color to the cement. Use special cement dyes.
- Work on a sunny day. Cement dries faster in the sun.

Credit: www.amazon.in
Enjoy Your Garden Path
Now you have a lovely garden path. Stepping stones make your garden look nice. They are also fun to make. You can create many designs. Each stone can be different.
Invite friends and family to see your work. You can even give stepping stones as gifts. They are thoughtful and handmade.
Remember, making stepping stones is easy. Anyone can do it. You just need a few materials and some time. Have fun and enjoy your garden!
Frequently Asked Questions
What Materials Do I Need For Cheap Diy Stepping Stones?
Concrete mix, molds, water, and decorative items like stones or tiles work well.
How Long Does It Take For Stepping Stones To Dry?
Drying usually takes 24 to 48 hours depending on the thickness and weather.
Can I Use Household Items As Molds For Stepping Stones?
Yes, plastic containers, cake pans, or old lids make good molds.
How Do I Make Stepping Stones Slip-resistant?
Add sand or small gravel to the concrete mix for better grip.
Conclusion
DIY stepping stones are a great project. They are cheap and easy to make. You can use them to decorate your garden. Follow these steps and tips. Create a beautiful path in your garden. Enjoy your new stepping stones!
4 min read

