
Welcome signs make guests feel special. They add warmth to any home. You don’t need to spend much to make one. There are many ways to create beautiful welcome signs. Here are some cheap ideas to try.
Why Have a Welcome Sign?
A welcome sign is a friendly gesture. It shows that you care. It makes visitors feel at home. A welcome sign can also decorate your space. It adds charm to your door or porch.
Materials You Can Use
You can use many materials to make welcome signs. Here are some ideas:
- Wood: Old wood pieces work well. They are sturdy and easy to paint.
- Cardboard: It is cheap and easy to find. You can cut it into any shape.
- Canvas: You can paint on canvas. It’s perfect for hanging signs.
- Metal: Old metal sheets give a rustic look. They are long-lasting.
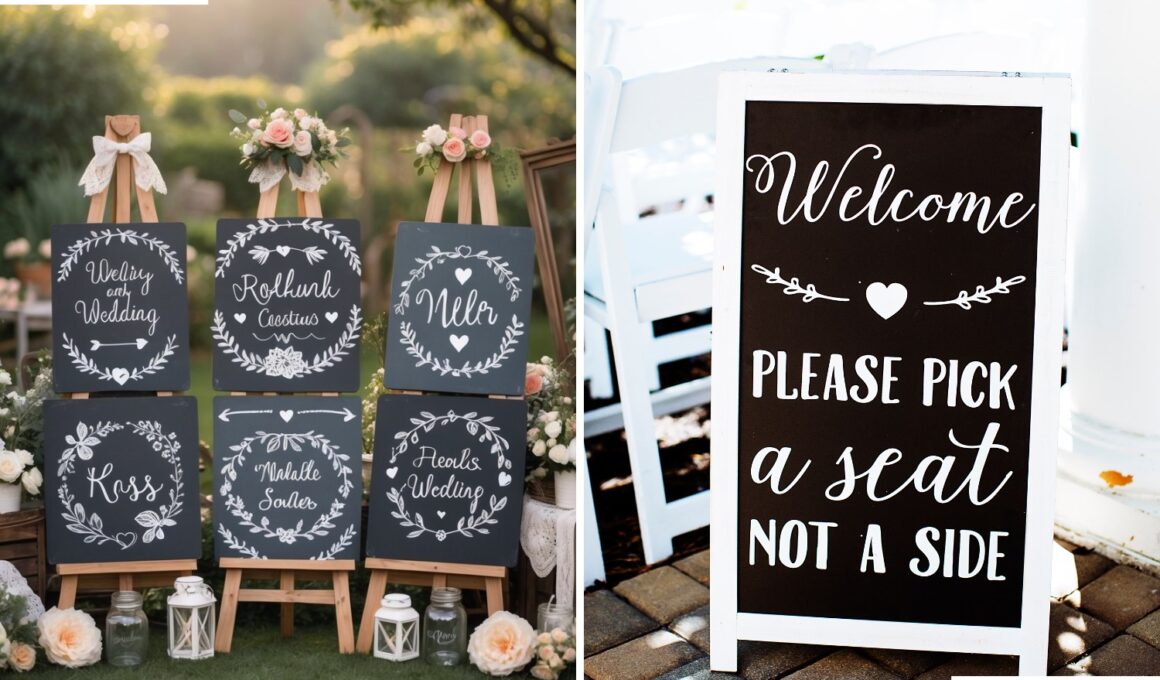
- Chalkboard: Write and erase messages easily. They are fun and changeable.
Simple Design Ideas
Designs do not need to be complicated. Simple is often best. Here are some ideas for simple designs:
Painted Words
Paint words on wood or canvas. Use bright colors. Write “Welcome” in big letters. Add your family name if you like. It’s easy and personal.
Stencil Art
Use stencils to create patterns. You can buy or make stencils. Paint over them on wood or canvas. It creates a neat look.
Chalkboard Signs
Chalkboard signs are fun. Write welcome messages with chalk. Change the message anytime. It is easy and creative.
Nature-inspired
Use leaves, flowers, or twigs. Glue them on cardboard or wood. This gives a natural look. It’s perfect for nature lovers.
DIY Steps for a Welcome Sign
Making a welcome sign is simple. Follow these steps:
Step 1: Choose Your Material
Pick the material you like best. Wood, cardboard, or canvas are good choices. Choose what you have at home.
Step 2: Gather Supplies
You will need paint, brushes, and other tools. You may also need glue, stencils, or markers. Gather everything you need before starting.
Step 3: Plan Your Design
Think about what you want your sign to say. Plan the design. Draw it out on paper first.
Step 4: Create The Sign
Start by painting or writing the words. Use stencils for patterns if you want. Add any extra details like leaves or flowers.
Step 5: Let It Dry
Let your sign dry completely. This may take a few hours. Be patient!
Step 6: Display Your Sign
Place your sign where everyone can see it. Hang it on your door or place it on your porch.
Cost-Effective Tips
Making a welcome sign does not have to cost a lot. Here are some tips to save money:
- Use Recycled Materials: Old wood, cardboard, or metal work great.
- Buy Supplies on Sale: Look for sales on paint and brushes.
- Use What You Have: Use leftover paint and craft supplies.
- Share with Friends: Share supplies with friends to save money.
Inspiring Examples
Here are some inspiring examples to get you started:
| Example | Description |
|---|---|
| Wooden Welcome Sign | A simple wood piece with painted words. |
| Chalkboard Sign | A small chalkboard with colorful chalk writing. |
| Canvas Art | Painted canvas with bright designs. |
| Nature Theme | Wood with glued leaves and flowers. |

Credit: www.canva.com

Credit: www.etsy.com
Final Thoughts
Welcome signs are a great way to greet guests. They do not have to be expensive. You can make them with simple materials. Let your creativity shine. Try one of these cheap welcome sign ideas today. Your guests will feel special and welcomed.
Frequently Asked Questions
What Materials Work Best For Cheap Welcome Signs?
Wood, chalkboard, cardboard, and recycled materials are budget-friendly and easy to customize.
How Can I Make A Welcome Sign Without Spending Much?
Use simple supplies like paper, markers, and paint to create a personalized sign at home.
What Themes Suit Inexpensive Welcome Signs?
Rustic, minimal, seasonal, and hand-lettered styles look great and cost very little.
Where Can I Find Cheap Welcome Sign Templates?
Free templates are available on websites like Canva, Pinterest, and Etsy for easy downloads.
4 min read