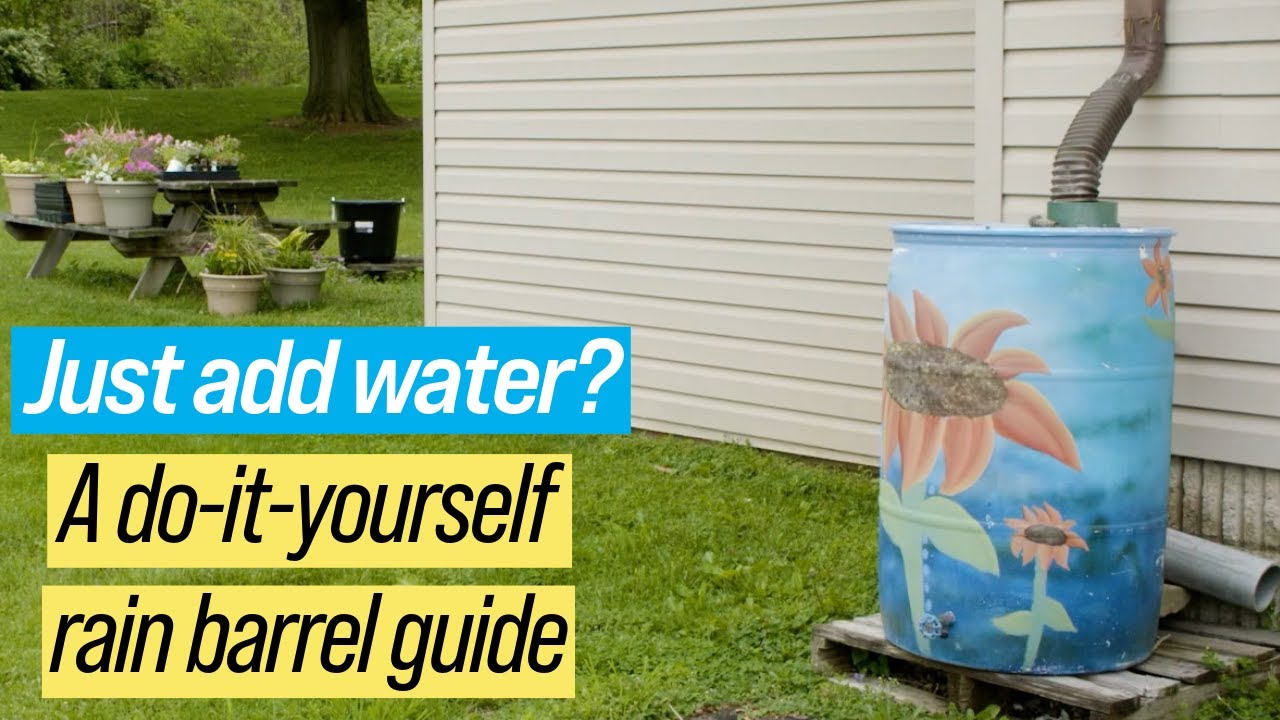

7 Easy Steps to Build a Rain Barrel and Save Water
Water conservation is more important than ever, and building a rain barrel is a simple, affordable way to reduce your water usage. Not only does a rain barrel save water, but it also lowers your water bills and helps your garden thrive. With just a few materials and basic tools, you can set up your own rain collection system in no time.
In this guide, we’ll walk you through 7 easy steps to build a rain barrel, plus provide tips, safety advice, and maintenance suggestions to make it last for years.
What is a Rain Barrel?
A rain barrel is a big container. It catches rain from your roof. You can use this water for many things. Watering plants, washing cars, or cleaning windows. It helps save water and money.
Why Build a Rain Barrel?
-
Before diving into the steps, let’s explore why rain barrels are so useful:
-
Conserve Water – Collect rainwater instead of using tap water for your garden.
-
Save Money – Reduce your water bill by using free rainwater.
-
Protect Plants – Rainwater is naturally soft and chemical-free, making it perfect for plants.
-
Reduce Runoff – Helps prevent soil erosion and stormwater runoff in your yard.
A rain barrel is a sustainable, low-cost way to make your garden more eco-friendly.
Have you ever wanted to save water? Building a rain barrel is a great way. You can collect rainwater and use it later. It’s easy and fun. Let’s learn how to make one.
-
Materials You Need
Before you start, gather these materials:
| Material | Use |
|---|---|
| Plastic Barrel | Holds the rainwater |
| Screen | Keeps out leaves and bugs |
| Faucet | Lets the water out |
| Caulk | Seals holes |
| Downspout Diverter | Directs water into the barrel |
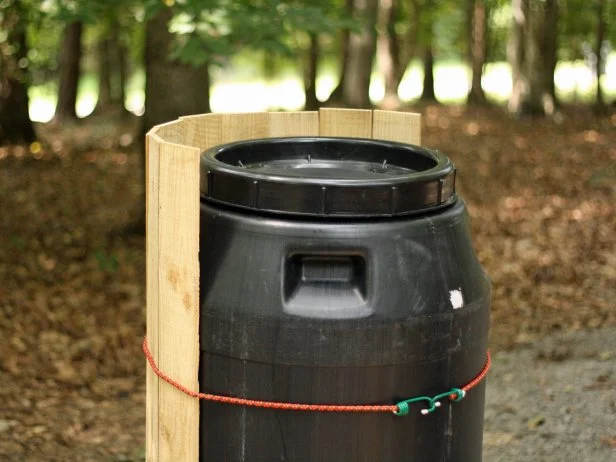
Credit: www.hgtv.com
Step-by-Step Guide
Step 1: Find A Good Spot
Pick a place near your house. The spot should be under a downspout. This is where water comes off the roof.
Step 2: Prepare The Barrel
Clean the barrel. Make sure it is free of dirt and smells. Drill a hole near the bottom. This is where the faucet goes.
Step 3: Attach The Faucet
Screw the faucet into the hole. Use caulk to seal it. This stops leaks. Let it dry before you move on.
Step 4: Create An Overflow Hole
Drill a hole near the top. This is the overflow hole. It lets extra water out. This stops the barrel from bursting.
Step 5: Add A Screen
Put a screen on top of the barrel. This keeps leaves and bugs out. Secure the screen with a rubber band or string.
Step 6: Connect To The Downspout
Use a downspout diverter. Connect it to the downspout. It will direct water into the barrel. Make sure it fits well.
Step 7: Test Your Rain Barrel
Wait for rain. Check if water goes into the barrel. Make sure there are no leaks. If all is good, you are done!
Using Your Rain Barrel
Now you have a rain barrel. How do you use it? It’s simple. Use the faucet to get water. Fill watering cans or buckets. Water your garden. Wash your car. Clean outdoor furniture. There are many uses.
Keep Your Rain Barrel Clean
Check your barrel often. Make sure it is clean. Remove leaves and dirt. Clean the screen if needed. This keeps the water fresh.
Benefits of a Rain Barrel
A rain barrel is helpful. It saves water and money. It helps the environment. It’s easy to build. Plus, it’s fun to make! You can help the earth with just one barrel.
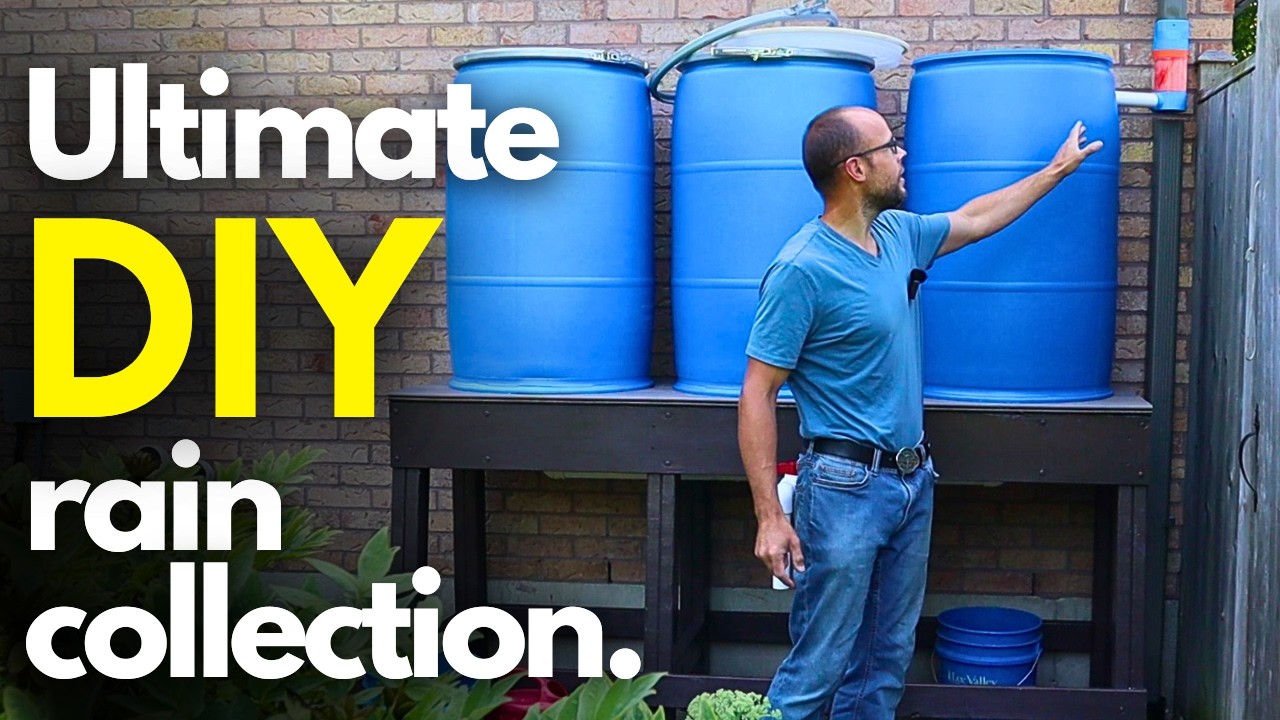
Credit: www.youtube.com
Frequently Asked Questions
What Materials Do I Need To Build A Rain Barrel?
You need a plastic barrel, spigot, screen, drill, and hose connector for a basic rain barrel.
How Much Water Can A Rain Barrel Hold?
Most rain barrels hold between 40 to 60 gallons of water.
Where Should I Place My Rain Barrel?
Place it near a downspout to catch rainwater from your roof easily.
How Do I Keep Debris Out Of My Rain Barrel?
Use a fine mesh screen on top to block leaves and insects.
Conclusion
Building a rain barrel is easy. You need a few materials. Follow simple steps. Save water and help the planet. Share your rain barrel story with friends. Encourage them to build one too. It’s a small step with a big impact. Start today!
4 min read