
A dry creek bed looks like a small river, but it has no water most of the time. It is a great way to add beauty to your garden or yard. Also, it helps water flow away when it rains. This guide will show you how to build a dry creek bed. The steps are simple and easy to follow.
What Is a Dry Creek Bed?
A dry creek bed is a shallow channel made with rocks and stones. It looks like a creek but does not always have water. When it rains, water flows through it. When it is dry, it looks like a natural part of your yard. It can help stop water from flooding your garden.
Why Build a Dry Creek Bed?
- It helps water drain away from your home.
- It stops soil from washing away.
- It looks nice and natural in your yard.
- It needs very little care after building.
- It can create a nice path or garden feature.
Tools and Materials You Need
Before you start, gather these items:
| Tools | Materials |
|---|---|
| Shovel | River rocks (various sizes) |
| Garden rake | Landscape fabric |
| Wheelbarrow | Sand or small gravel |
| Garden hose or rope | Large stones for edges |
| Gloves | Optional: plants like grasses or moss |
Step 1: Choose the Location
Pick a spot in your yard that gets water when it rains. The dry creek bed should lead water away from your house or garden. It is good if the ground slopes a little. Use a garden hose or rope to mark the path of the creek bed. Make a curved, natural shape like a small river.
Step 2: Plan the Size
Decide how long and wide your dry creek bed will be. A small dry creek bed can be 3 feet wide and 10 feet long. Larger ones can be wider and longer. The depth should be about 6 to 12 inches. This helps hold rocks and water when it rains.
Step 3: Dig the Creek Bed
Wear your gloves and start digging inside the marked area. Dig a shallow channel about 6 to 12 inches deep. The sides can be sloped gently for a natural look. Remove grass and plants from the area. Use the soil to build small banks or edges if you want.

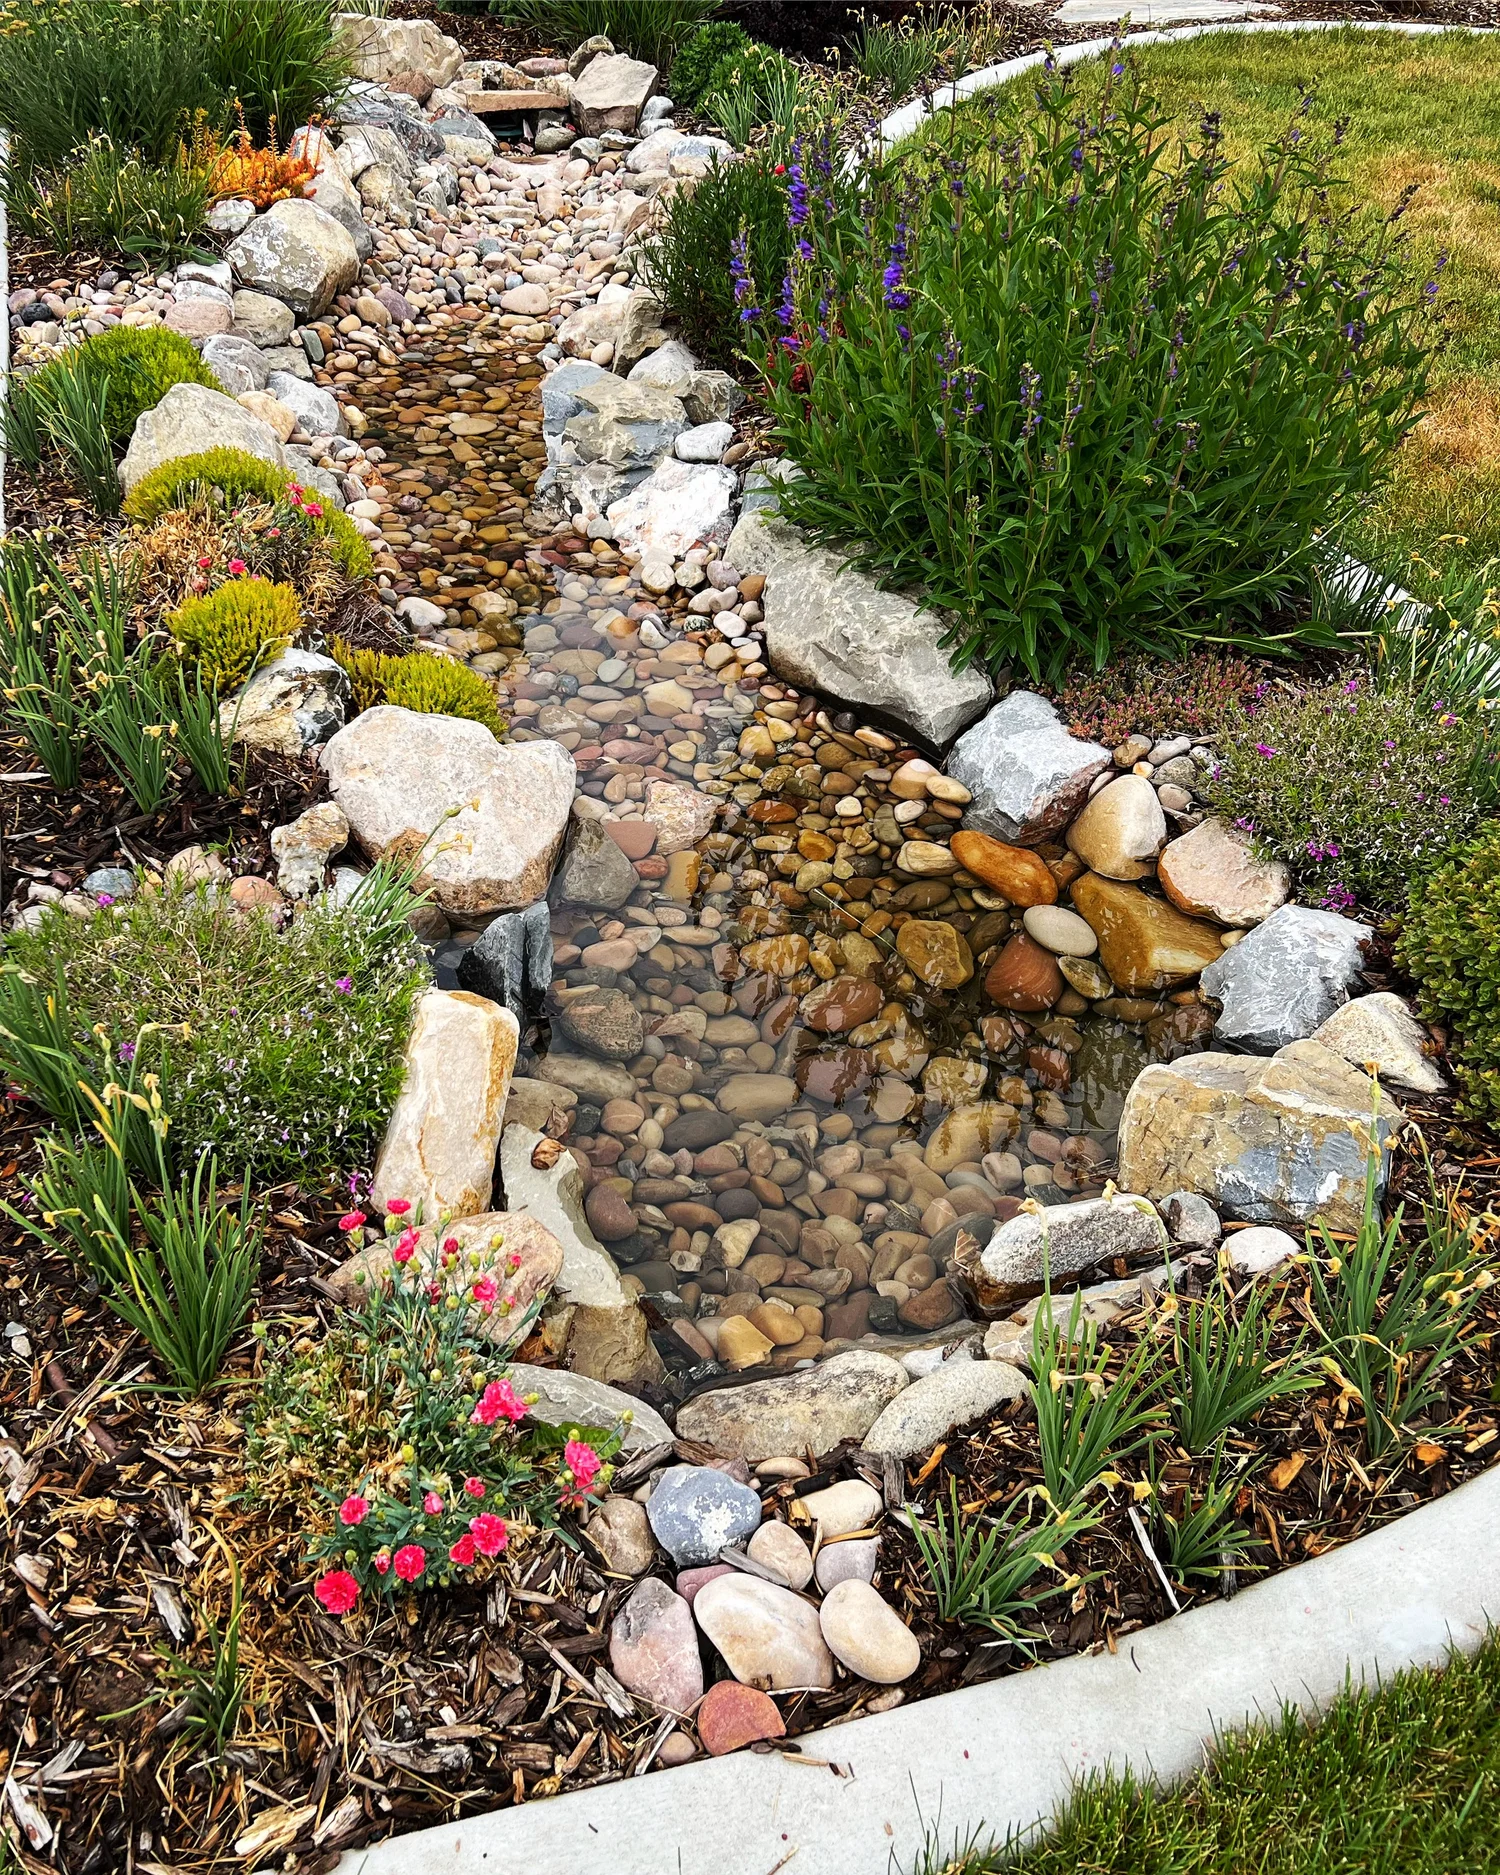
Credit: www.ournestingspace.com
Step 4: Lay Landscape Fabric
Spread landscape fabric inside the dug channel. This stops weeds from growing between the rocks. Cut the fabric to fit the shape of your creek bed. Secure the edges with some soil or small stones. The fabric lets water pass but blocks weeds.
Step 5: Add a Base Layer of Sand or Gravel
Put a layer of sand or small gravel over the fabric. This layer helps with drainage and keeps rocks in place. The layer should be about 2 to 3 inches thick. Spread it evenly with your rake.
Step 6: Place Large Stones for Edges
Use big stones or boulders along the sides of the creek bed. These stones make the edge look natural and keep smaller rocks inside. Place the stones in a way that looks like nature. You can leave small spaces between the stones for plants.
Step 7: Add River Rocks
Now fill the center of the creek bed with river rocks. Use different sizes and colors for a natural look. Put larger rocks in some spots and smaller ones in others. Make sure the rocks cover the fabric completely. This layer should be about 3 to 6 inches deep.
Step 8: Add Plants (Optional)
You can plant grasses, moss, or small flowers along the edges. Choose plants that like dry or wet soil. These plants make your dry creek bed look even better. They also help hold soil and stones in place.
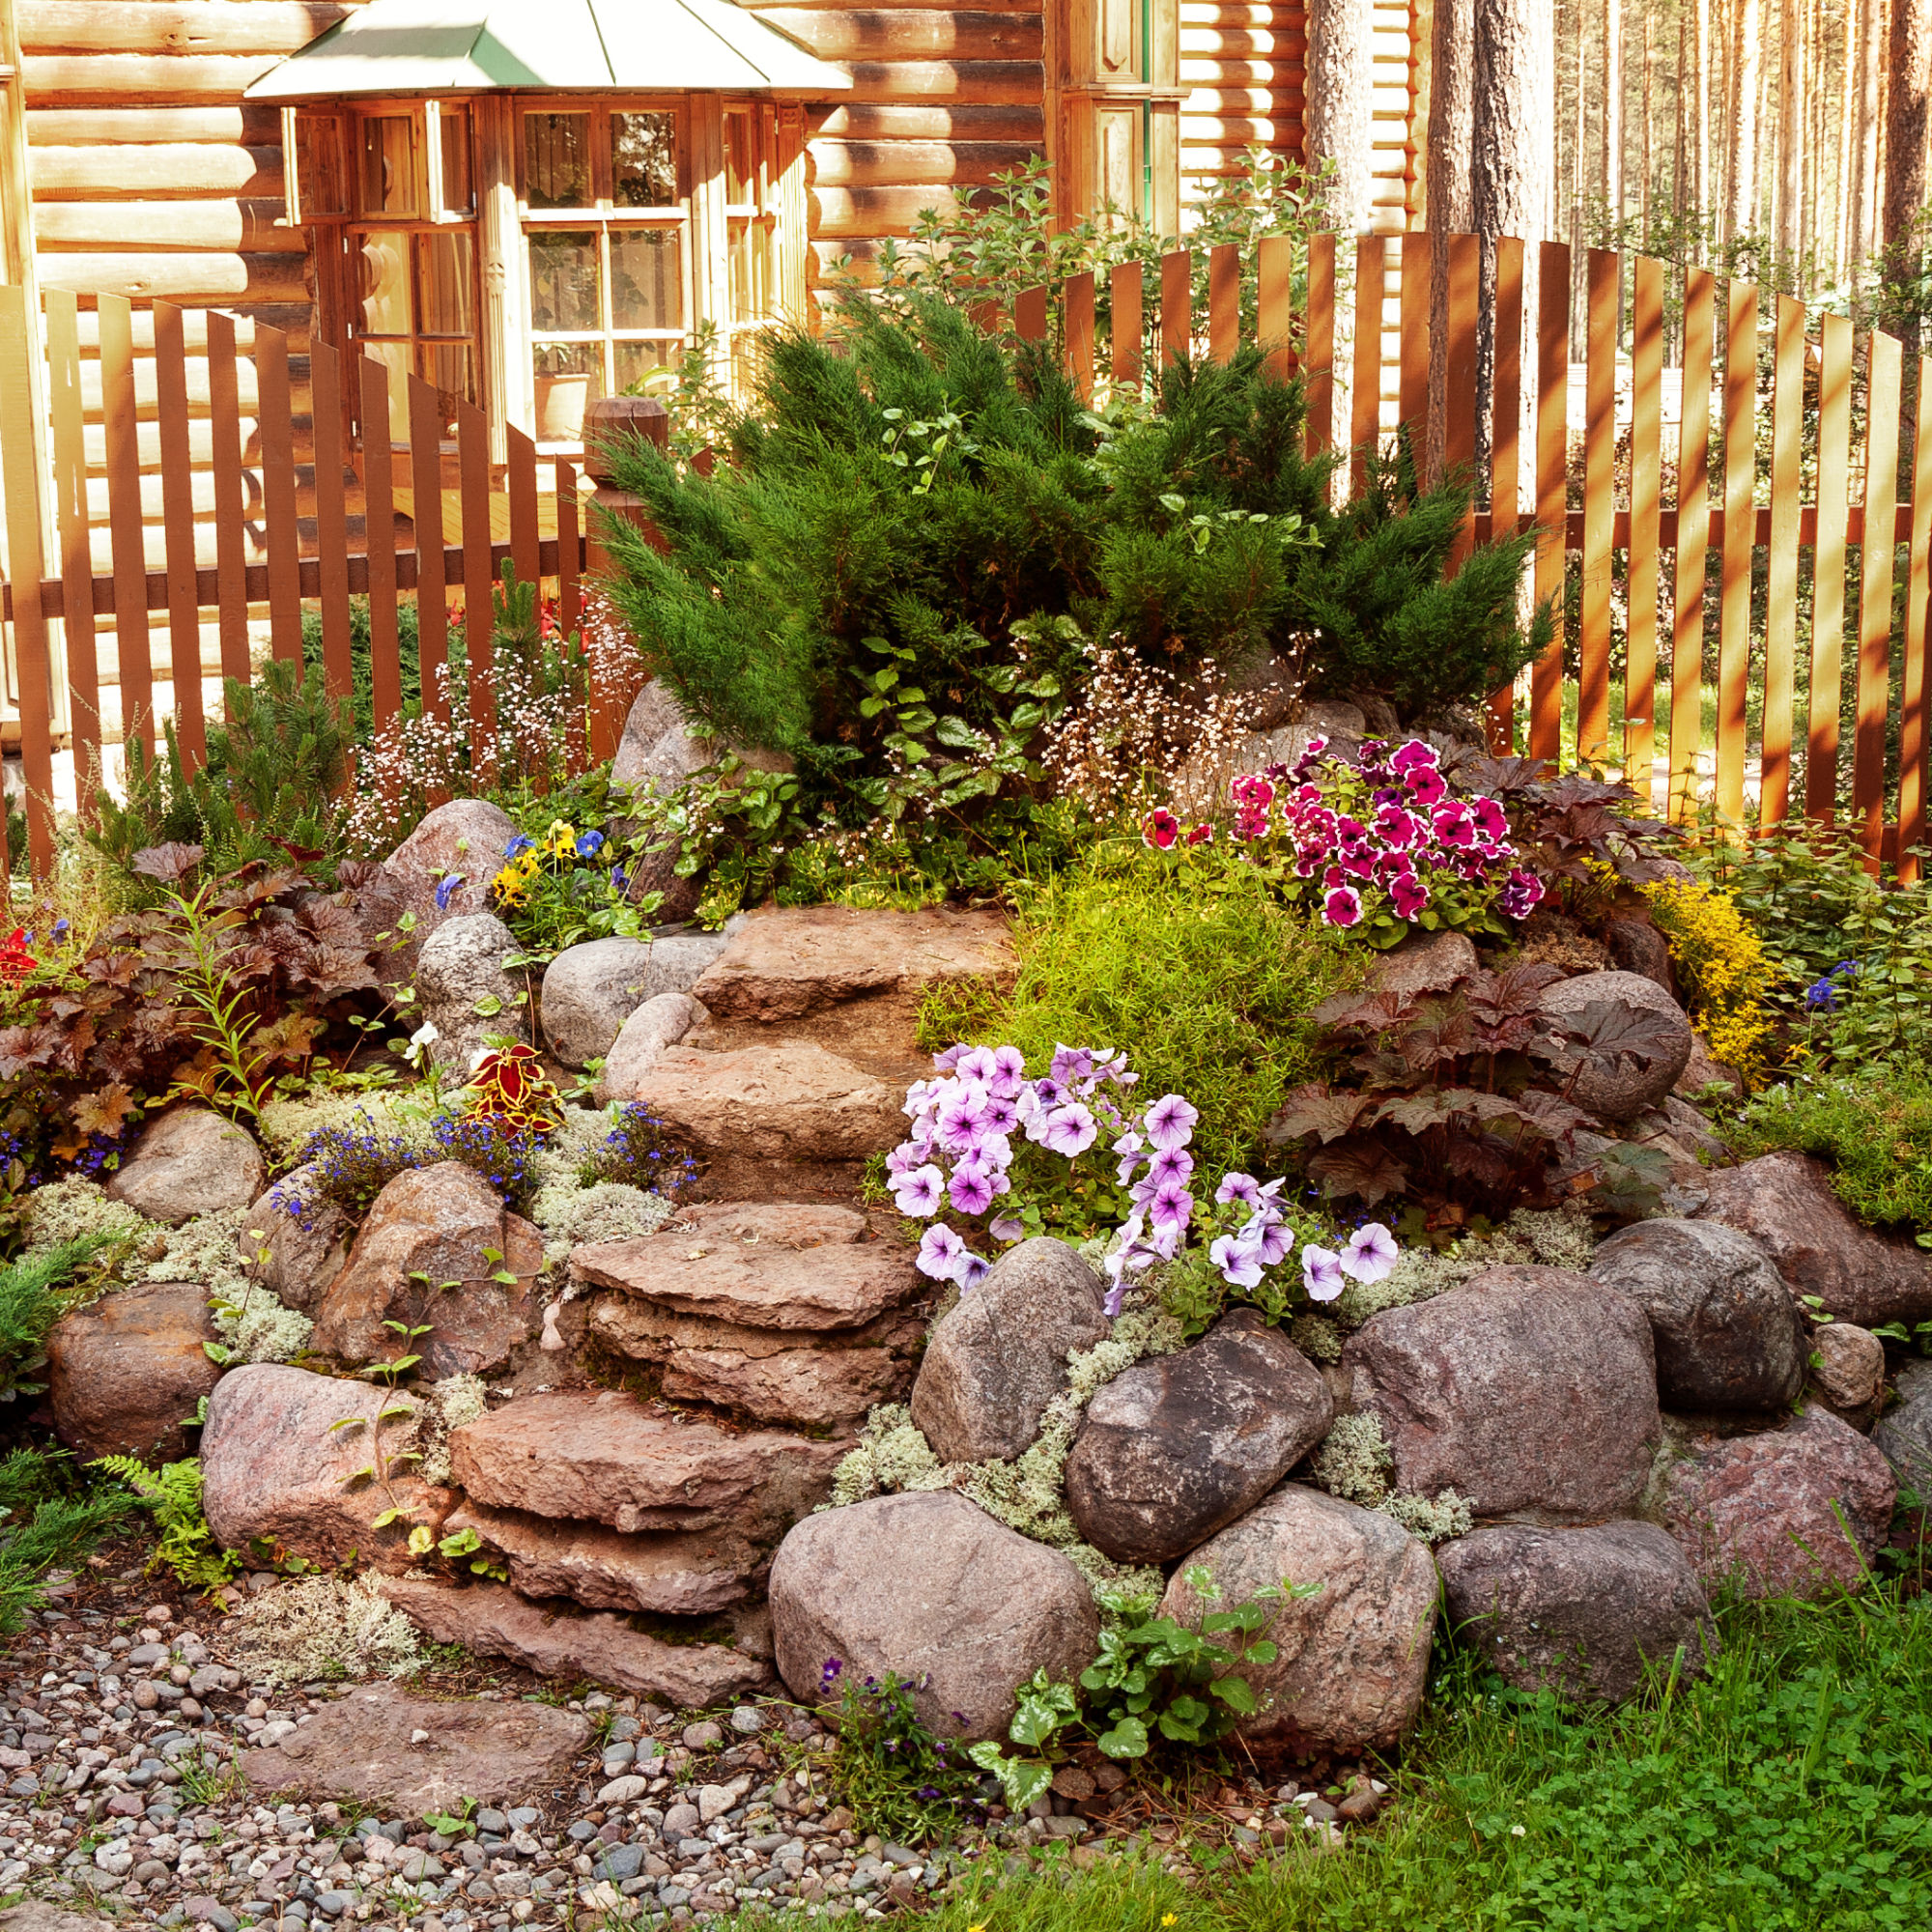
Credit: www.gardeningknowhow.com
Step 9: Water and Check
After building, water the area lightly. This helps settle the rocks and soil. Watch what happens when it rains. Water should flow through your dry creek bed easily. If water pools or does not flow, you may need to adjust rocks or slope.
Tips for a Beautiful Dry Creek Bed
- Use different rock sizes for a natural look.
- Make gentle curves, not straight lines.
- Mix colors of stones for variety.
- Plant native plants to save water.
- Keep the creek bed clean of leaves and debris.
Benefits of a Dry Creek Bed
A dry creek bed is more than decoration. It helps control rainwater and stops soil erosion. It adds value to your home and garden. It is easy to build and needs little care. It is safe for kids and pets.
Common Mistakes to Avoid
- Building the creek bed too flat, so water does not flow.
- Not using landscape fabric, which lets weeds grow.
- Using only one size of rock—this looks unnatural.
- Placing the creek bed where water cannot drain well.
- Not checking the water flow after building.
How Long Does It Take to Build?
Building a small dry creek bed can take one or two days. Larger projects may take more time. It depends on the size and your help. Taking your time will make it look better.
Maintenance of a Dry Creek Bed
Dry creek beds need little care. Remove leaves and trash regularly. Check after heavy rains for moved rocks. Add more rocks if some wash away. Trim plants to keep the area neat.
Final Thoughts
Building a dry creek bed is a simple way to improve your yard. It helps with water and looks beautiful. The steps are easy and materials are simple. Anyone can build one with a little time and effort. Try it and enjoy a natural, peaceful space.
Frequently Asked Questions
What Is A Dry Creek Bed?
A dry creek bed is a landscape feature. It mimics a natural waterway.
How Do You Start Building One?
Clear the area first. Then plan the creek’s path with stones.
Which Materials Are Needed For A Dry Creek Bed?
You’ll need stones, rocks, gravel, and landscape fabric.
Why Add A Dry Creek Bed To Your Garden?
It adds beauty and helps with drainage problems.
5 min read