
Composting is a great way to turn kitchen scraps and garden waste into rich soil. It helps plants grow better and reduces trash. A compost tumbler makes composting easier and faster. You can build one yourself with simple tools and materials. This guide will show you how to build a compost tumbler step by step.
What Is a Compost Tumbler?
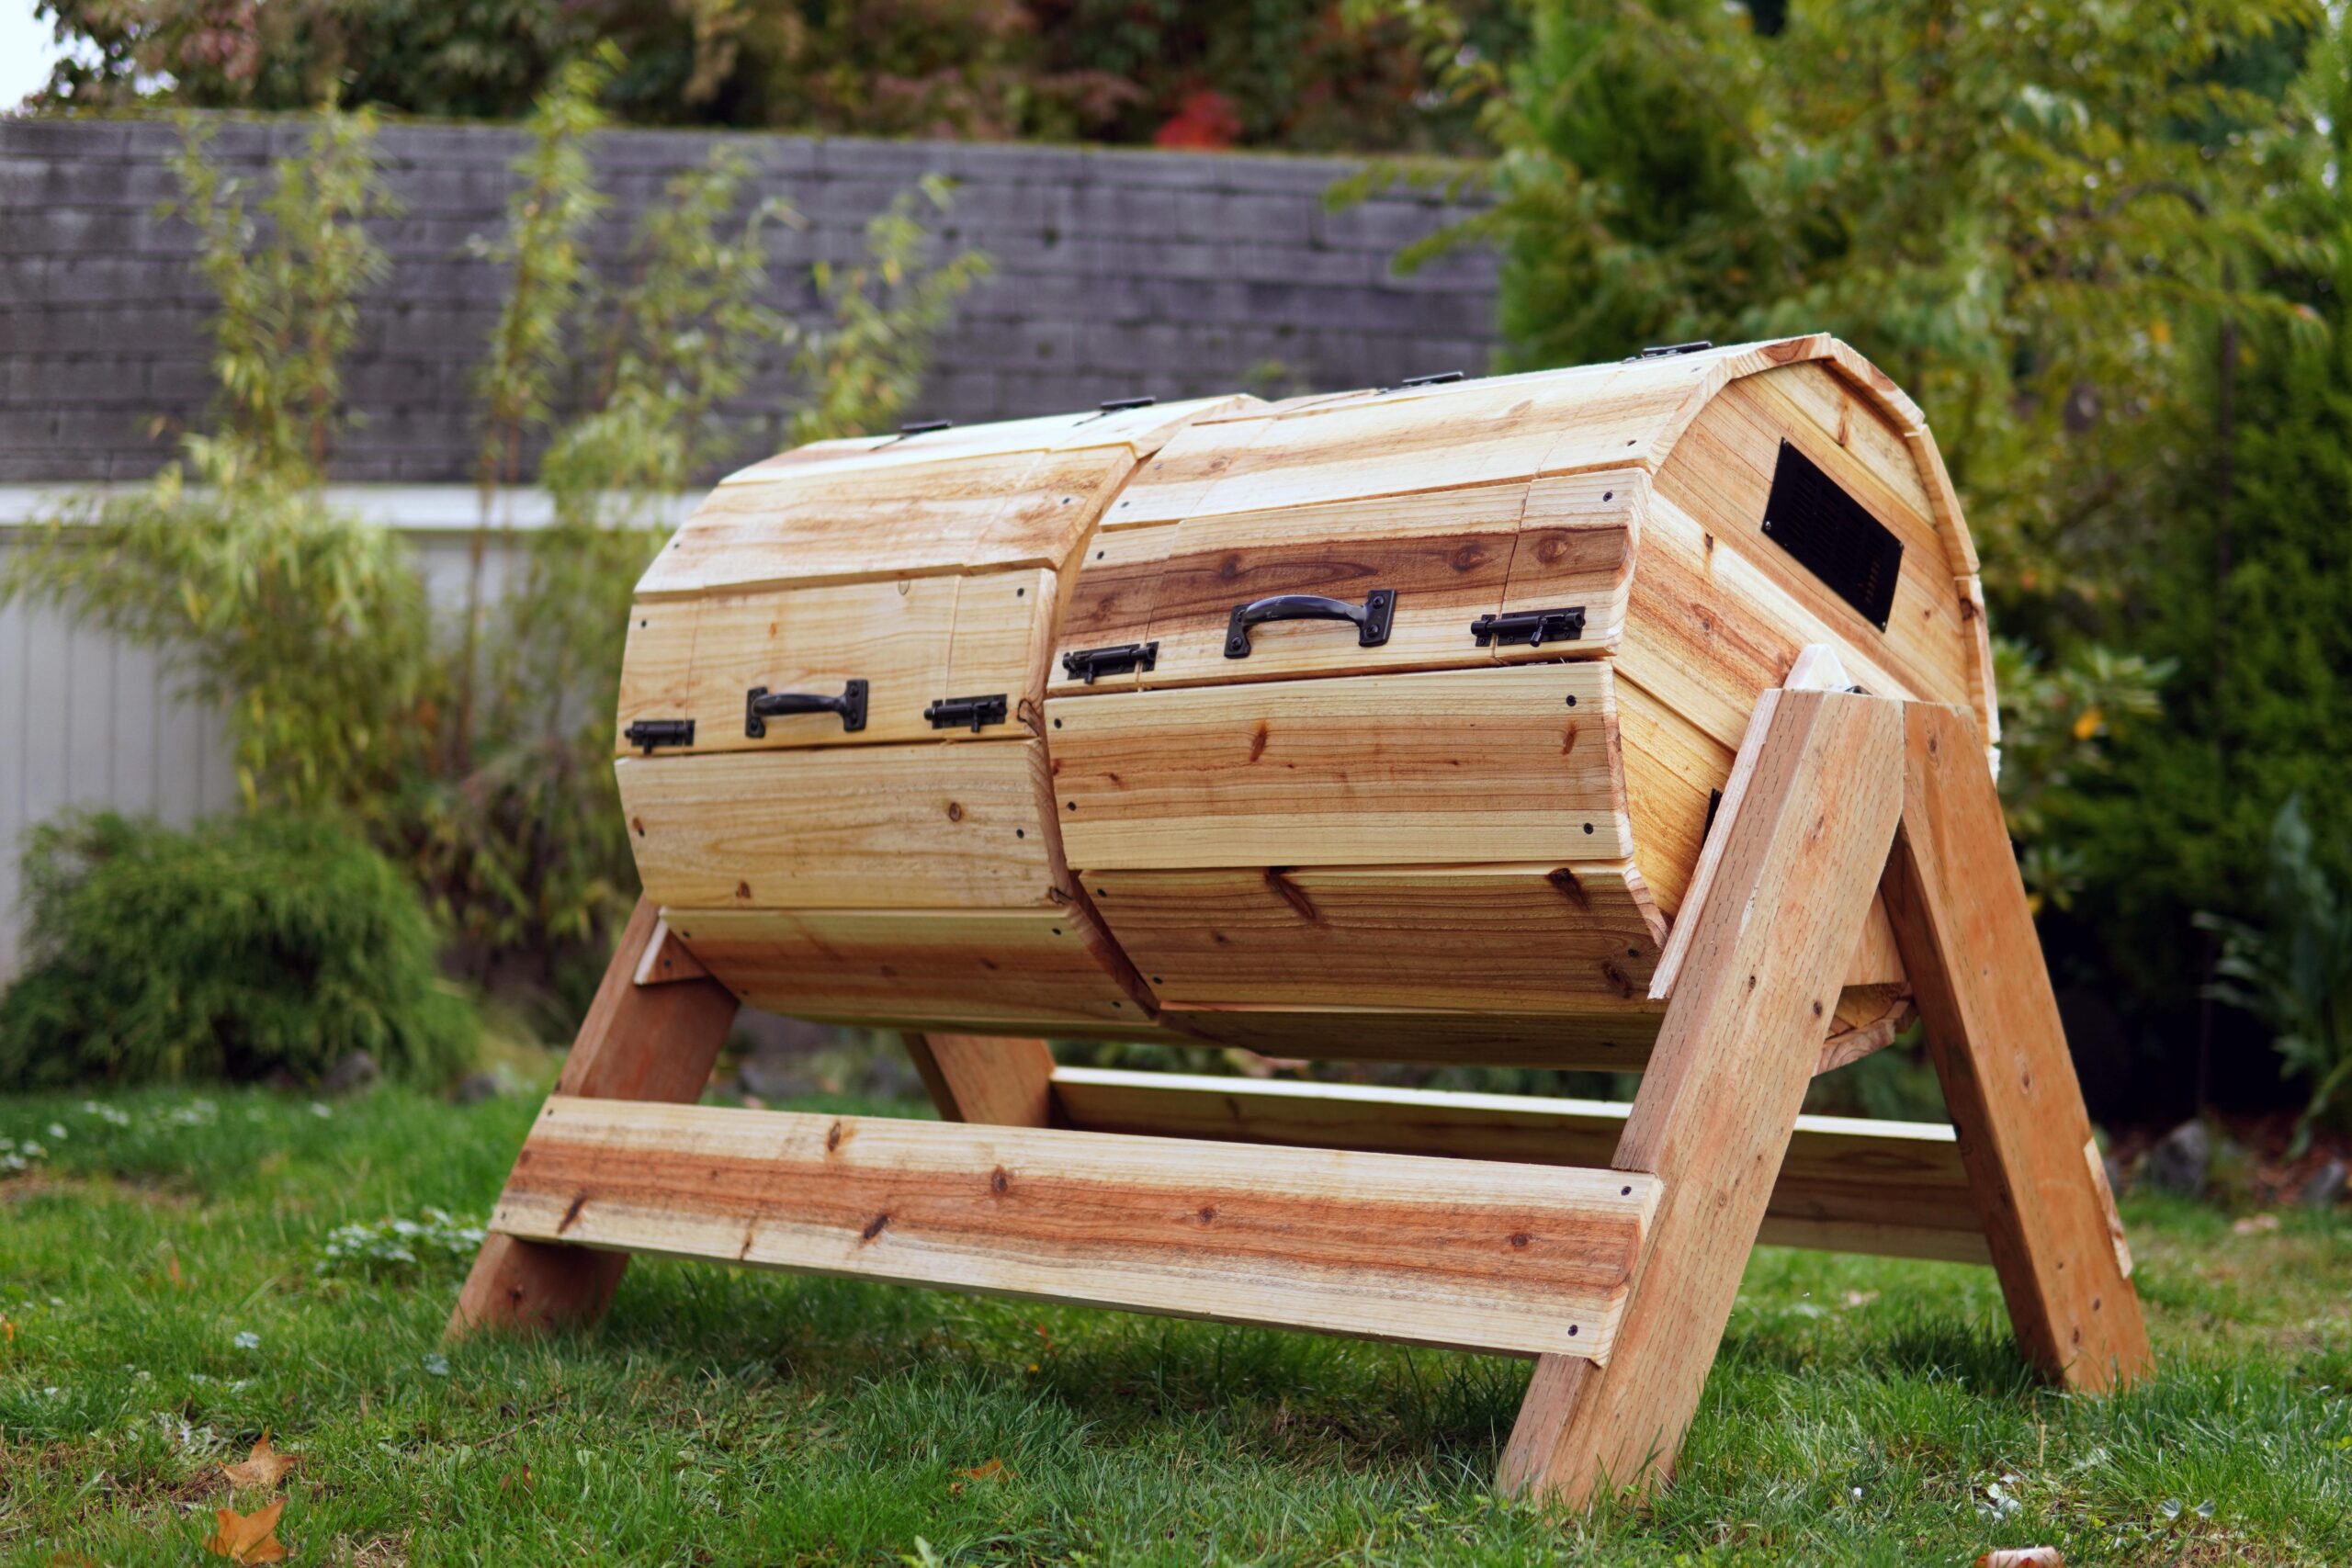
A compost tumbler is a container that holds organic waste. It is designed to rotate or spin. This spinning helps mix the compost inside. Mixing speeds up the composting process. It also keeps the compost healthy by adding air.
Unlike a regular compost pile, a tumbler is neat and tidy. It keeps the smell down and stops pests. You can place it in your yard or garden easily. It is a good choice for small spaces.
Why Build a Compost Tumbler?
- Faster composting: Turning the compost often helps break down waste quicker.
- Less smell: A closed tumbler keeps bad smells away.
- Cleaner: It stops animals from getting into your compost.
- Easy to use: You just spin the tumbler instead of digging and mixing by hand.
- Good for small spaces: It takes less room than a compost pile.
Materials Needed to Build a Compost Tumbler
Before you start, gather these materials:
- Two large plastic barrels (about 50 gallons each)
- Steel or wooden frame to hold the barrel
- Metal rod or pipe for the tumbler axle
- Drill with drill bits
- Screws and nuts
- Handles to turn the tumbler
- Wire mesh or screen (optional, for ventilation)
- Paint (optional, to protect barrel from sun)
Step 1: Prepare the Barrels
Use barrels made of strong plastic. They should be clean and free of chemicals. Drill holes all over the barrel walls. These holes allow air to enter and help compost breathe. Make holes about 1/4 inch wide. Space them evenly around the barrel.
If the barrel has a lid, make sure it fits tightly. The lid will help keep pests out.
Step 2: Build the Frame
You need a frame to hold the barrel. The frame keeps the barrel off the ground. It also lets the barrel spin easily.
Use wood or metal to build the frame. Make a simple stand with four legs. The frame should hold the barrel at the center. It must be strong enough to hold the barrel when full.
Make sure the frame is stable and level. This will help the barrel spin smoothly.
Step 3: Install the Axle
The barrel needs an axle to spin on. Use a metal rod or pipe. Drill holes through the barrel near the center on both sides. Insert the axle through these holes.
Attach the axle to the frame. It should be tight but still allow the barrel to turn. Use washers and nuts to keep the axle in place.
Add handles to the axle. This makes turning the tumbler easier.
Step 4: Add Ventilation
Air is important for composting. If your barrel has large holes, cover them with wire mesh. This stops bugs and animals from getting in. It also lets air flow freely.
Secure the mesh with screws or clips. Make sure it fits well and does not block the holes.
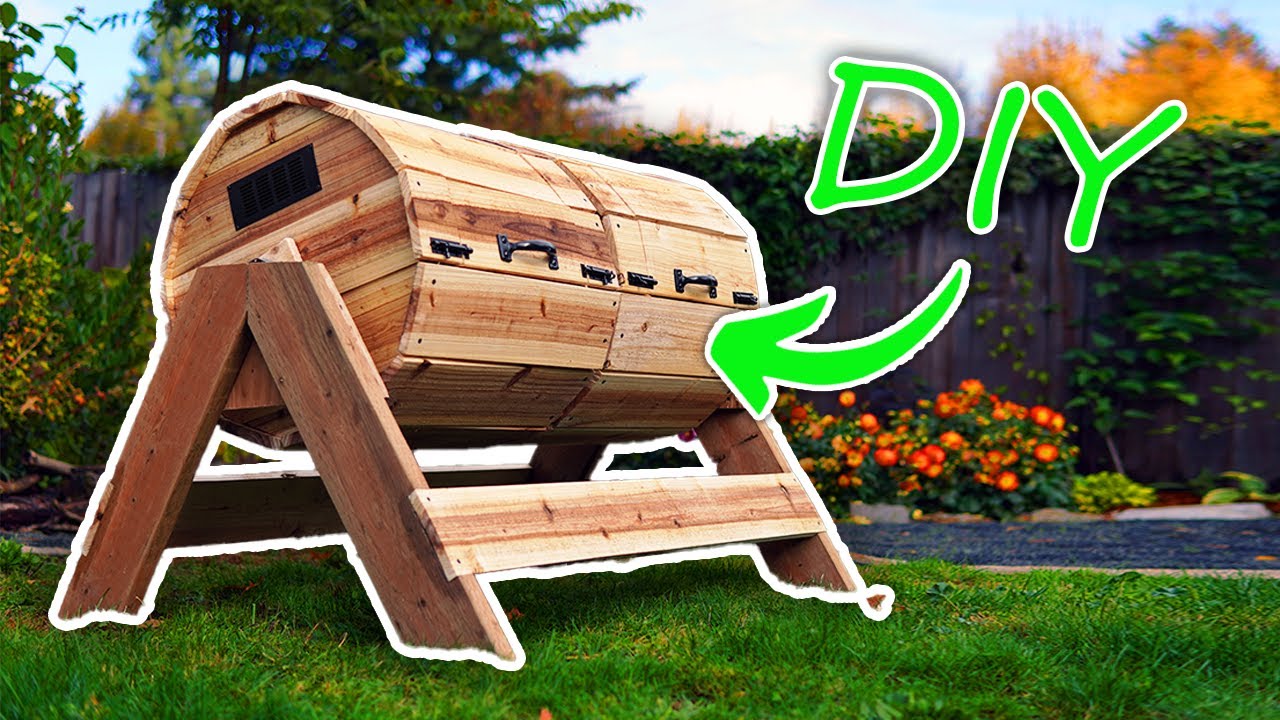
Credit: www.youtube.com
Step 5: Paint the Barrel (Optional)
Painting the barrel helps protect it from sun damage. Use a dark color like black or green. Dark colors absorb heat and help compost heat up faster.
Use outdoor paint that sticks to plastic. Let the paint dry before use.
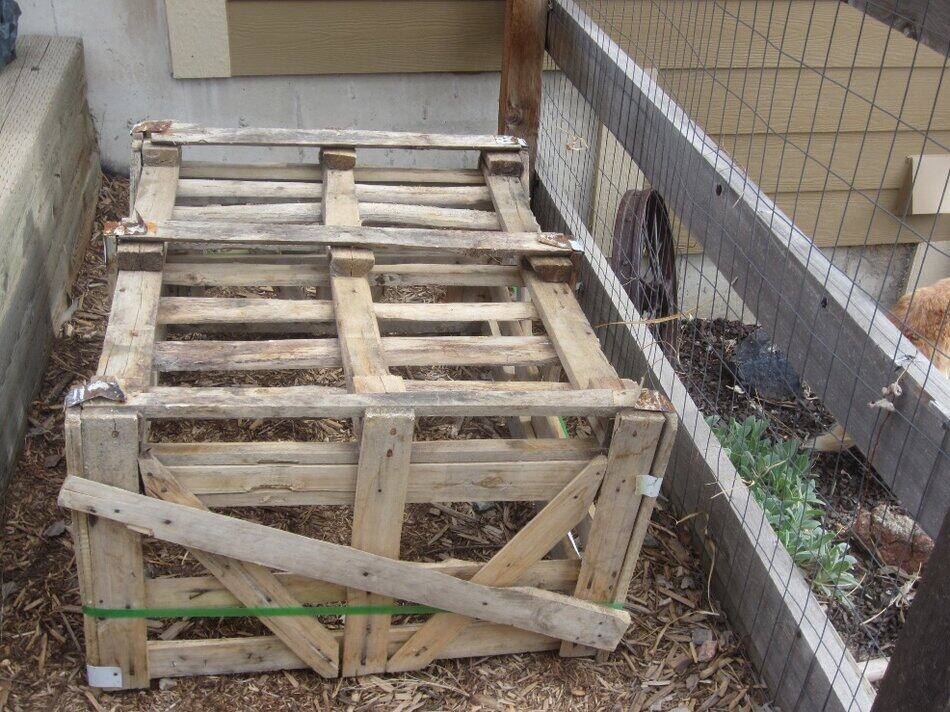
Credit: homefixated.com
How to Use Your Compost Tumbler
Now your compost tumbler is ready. Follow these steps to use it:
- Fill the tumbler with kitchen scraps and garden waste.
- Balance green (wet) and brown (dry) materials. For example, fruit peels and dry leaves.
- Close the lid tightly.
- Turn the tumbler every few days to mix the compost.
- Keep the compost moist but not too wet.
- In a few weeks, the compost will turn dark and crumbly.
Tips for Better Composting
- Cut large scraps into small pieces.
- Do not add meat, dairy, or oily foods.
- Keep the tumbler in a sunny spot.
- Add water if the compost feels dry.
- Turn the tumbler often to keep air inside.
Benefits of Using a Compost Tumbler
Using a compost tumbler brings many benefits to your garden and home.
| Benefit | Explanation |
|---|---|
| Reduces waste | Less garbage goes to landfills from your kitchen and yard. |
| Improves soil | Compost adds nutrients and helps plants grow strong. |
| Saves money | No need to buy soil or fertilizer for your garden. |
| Easy to manage | Tumbler design makes composting clean and simple. |
| Environmentally friendly | Composting lowers pollution and greenhouse gases. |
Common Problems and Solutions
Sometimes, composting may have problems. Here are some common issues and fixes:
- Smell: Turn the tumbler more often. Add dry leaves to balance moisture.
- Too wet: Add dry materials like paper or straw.
- Too dry: Spray water inside the tumbler.
- No heat: Add more green materials and keep the tumbler in sunlight.
Frequently Asked Questions
What Materials Are Best For Making Compost Tumblers?
Sturdy materials like plastic or metal. They withstand weather and last longer.
How Often Should I Turn My Compost Tumbler?
Turn your compost every 2-3 days. This helps speed up decomposition.
Can I Use Kitchen Scraps In A Compost Tumbler?
Yes, kitchen scraps are great. They add nutrients to your compost.
How Long Does Composting Take In A Tumbler?
It takes 4-8 weeks. Depends on weather and material balance.
Conclusion
Building a compost tumbler is a smart way to recycle waste. It is easy, fun, and good for the environment. With simple materials, you can create your own tumbler at home. Regular turning and care help make rich compost fast. Use compost in your garden to help plants grow better. Start building your compost tumbler today and enjoy fresh, healthy soil all year long.
5 min read