
Do you want to grow flowers or vegetables in your garden? Raised planter boxes can help you do that. They are easy to build and good for plants. This guide will teach you how to make your own raised planter box step by step.
What Is a Raised Planter Box?
A raised planter box is a box that holds soil above the ground. It lets you grow plants in a small space. You can place it on your patio, balcony, or garden. Raised boxes are good for people who have little or bad soil.
Because the soil is higher, it drains well. Plants get air and water easily. Also, it is easier to take care of plants because you don’t have to bend down much.
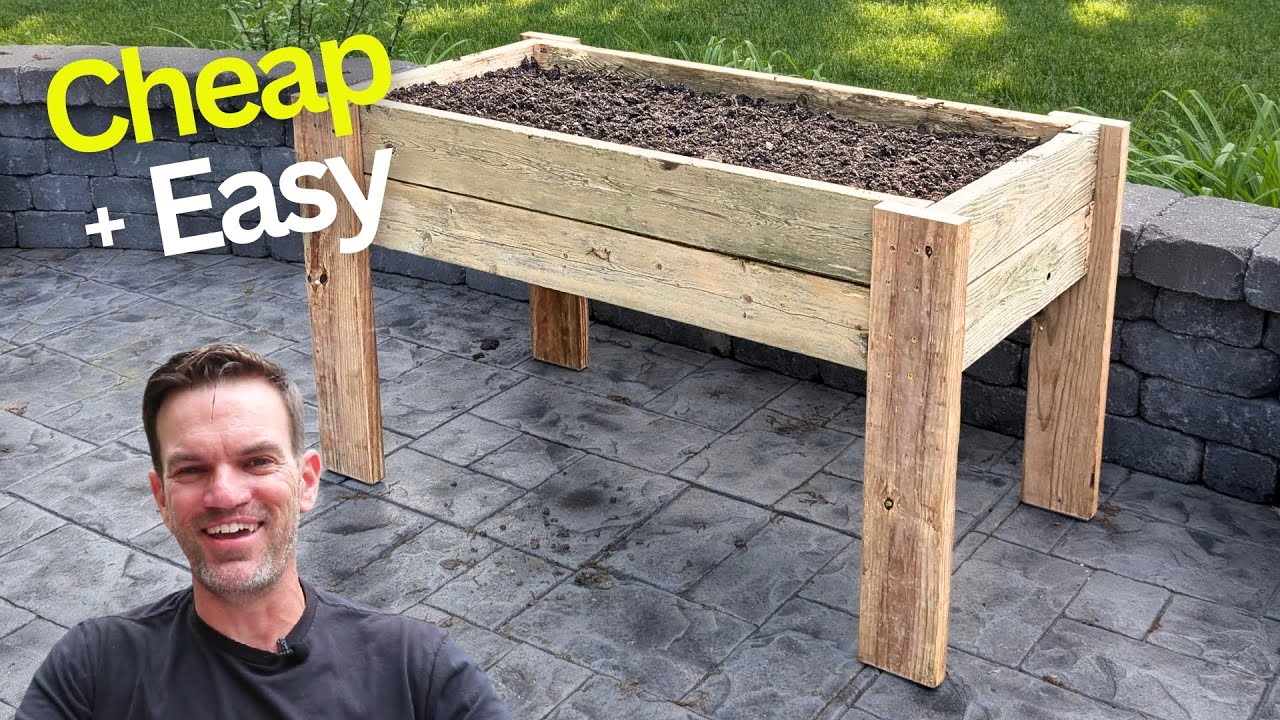
Credit: www.youtube.com
Why Build Raised Planter Boxes?
- Easy to Manage: Less bending and easier to weed.
- Good Soil: You control the soil quality.
- Protect Plants: Keeps pests and animals away.
- Better Drainage: Water does not stay too long.
- Organized Garden: Keeps your garden neat and tidy.
Materials Needed
Before you start, get these materials:
| Material | Purpose |
|---|---|
| Wood boards (cedar or pine) | For the box walls |
| Wood screws | To hold wood pieces together |
| Drill or screwdriver | To put screws in |
| Measuring tape | To measure wood pieces |
| Soil | To fill the box and grow plants |
| Landscape fabric (optional) | To keep soil in and stop weeds |
| Sandpaper | To smooth wood edges |
Choosing the Right Wood
Wood is the best material for planter boxes. It looks natural and is easy to work with. Choose wood that lasts long outside.
Cedar is a good choice. It does not rot fast. Pine is cheaper but may not last as long. Avoid treated wood because it may have chemicals.
Step-by-Step Guide to Build a Raised Planter Box
Step 1: Plan Your Box Size
Think about where you want to put the box. Measure the space available. Common sizes are 4 feet long, 2 feet wide, and 1 to 2 feet high.
Keep the width less than 3 feet. This way, you can reach the middle easily from both sides.
Step 2: Cut The Wood
Cut four pieces for the sides of the box. For example:
- Two pieces 4 feet long (long sides)
- Two pieces 2 feet long (short sides)
Cut four more pieces for the height. For example, 12 inches tall each.
If you want, cut a bottom frame to support the box.
Step 3: Sand The Wood
Use sandpaper to smooth all edges. This helps avoid splinters. It also makes your box look nice.
Step 4: Assemble The Box
Start by attaching the long side pieces to the short ones. Use wood screws to join corners. Make sure the box forms a rectangle.
Then, attach the height pieces to make walls. Use screws to secure all parts tightly.
Step 5: Add Landscape Fabric (optional)
Put landscape fabric inside the box. This keeps soil from falling out. It also stops weeds from growing up.
Use a staple gun or small nails to fix the fabric inside the wood.
Step 6: Place The Box
Put your planter box where you want it. Choose a sunny spot for vegetables and flowers. Make sure the ground is flat.
If needed, level the ground by adding some soil or sand.
Step 7: Fill The Box With Soil
Use good garden soil mixed with compost. Compost adds nutrients for plants. Fill the box about 10 to 12 inches deep.
Do not fill it to the top. Leave some space for watering.
Step 8: Plant Your Seeds Or Plants
Choose plants that grow well in your area. Follow seed or plant instructions for spacing. Water your plants after planting.
Tips for Building Raised Planter Boxes
- Use untreated wood: It is safer for plants and food crops.
- Make drainage holes: Drill holes at the bottom for water flow.
- Protect wood: Use natural oils or sealants to make wood last longer.
- Keep box height comfortable: Around 12 to 24 inches is good.
- Place in sun: Most plants need 6 hours of sunlight daily.
Benefits of Raised Planter Boxes
Raised planter boxes help you garden better. Here are some benefits:
| Benefit | Why It Helps |
|---|---|
| Better Soil | You can choose clean, rich soil for plants. |
| Easier Gardening | Less bending, so less back pain. |
| More Control | You control watering and sunlight easily. |
| Less Weeds | Raised box stops some weeds from growing. |
| Good Drainage | Water drains well, so roots do not rot. |
Common Uses for Raised Planter Boxes
People use raised planter boxes for many plants. Here are some ideas:
- Growing vegetables like tomatoes, peppers, and lettuce
- Planting herbs such as basil, mint, and parsley
- Flower beds with colorful plants
- Small fruit plants like strawberries
- Indoor gardening with smaller boxes
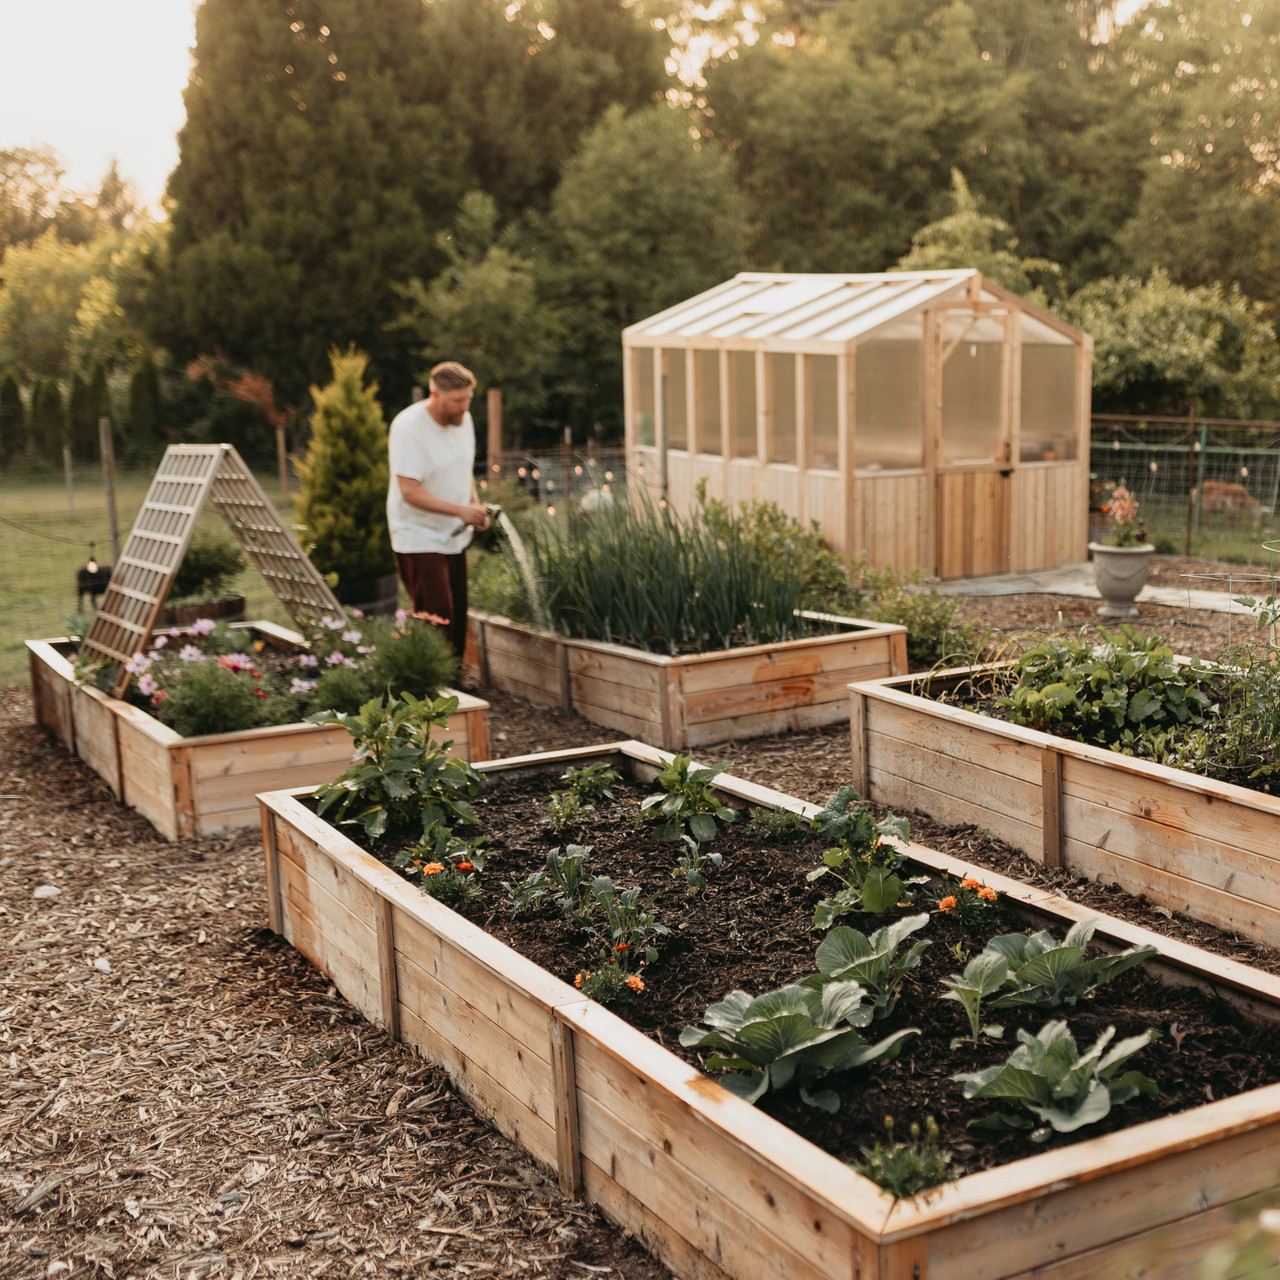
Credit: eartheasy.com
Maintaining Your Raised Planter Box
Taking care of your planter box keeps it healthy. Here are some tips:
- Water plants regularly but don’t overwater.
- Remove dead leaves and weeds often.
- Add compost every season to feed plants.
- Check wood condition yearly. Repair if needed.
- Protect wood from insects or rot with natural oil.
Frequently Asked Questions
What Are The Benefits Of Raised Planter Boxes?
Raised planter boxes improve drainage and reduce soil compaction. They also enhance accessibility for gardening.
How Do I Choose Materials For Planter Boxes?
Select materials like wood, metal, or plastic. Consider durability, aesthetics, and cost before deciding.
What Is The Ideal Size For A Raised Planter Box?
Ideal size depends on plants. Commonly, 4 feet wide by 6-8 inches deep works well.
Can I Build A Planter Box On Uneven Ground?
Yes. Use leveling techniques like terracing or adjustable legs to accommodate uneven surfaces.
Conclusion
Building a raised planter box is simple and fun. It helps grow healthy plants in small spaces. With the right wood and tools, anyone can do it. Follow the steps carefully, and you will have a strong box ready for planting.
Enjoy your gardening with raised planter boxes. They make your garden neat and your plants happy.
5 min read