
Are you thinking about upgrading your bathroom without spending a fortune? A DIY shower enclosure might be the perfect solution for you.
Imagine stepping into a stylish, custom shower space that you built yourself—saving money and adding value to your home. You’ll discover simple steps and expert tips to create a shower enclosure that fits your style and budget. Ready to transform your bathroom and enjoy a fresh, modern look?
Keep reading, and let’s make your dream shower a reality.

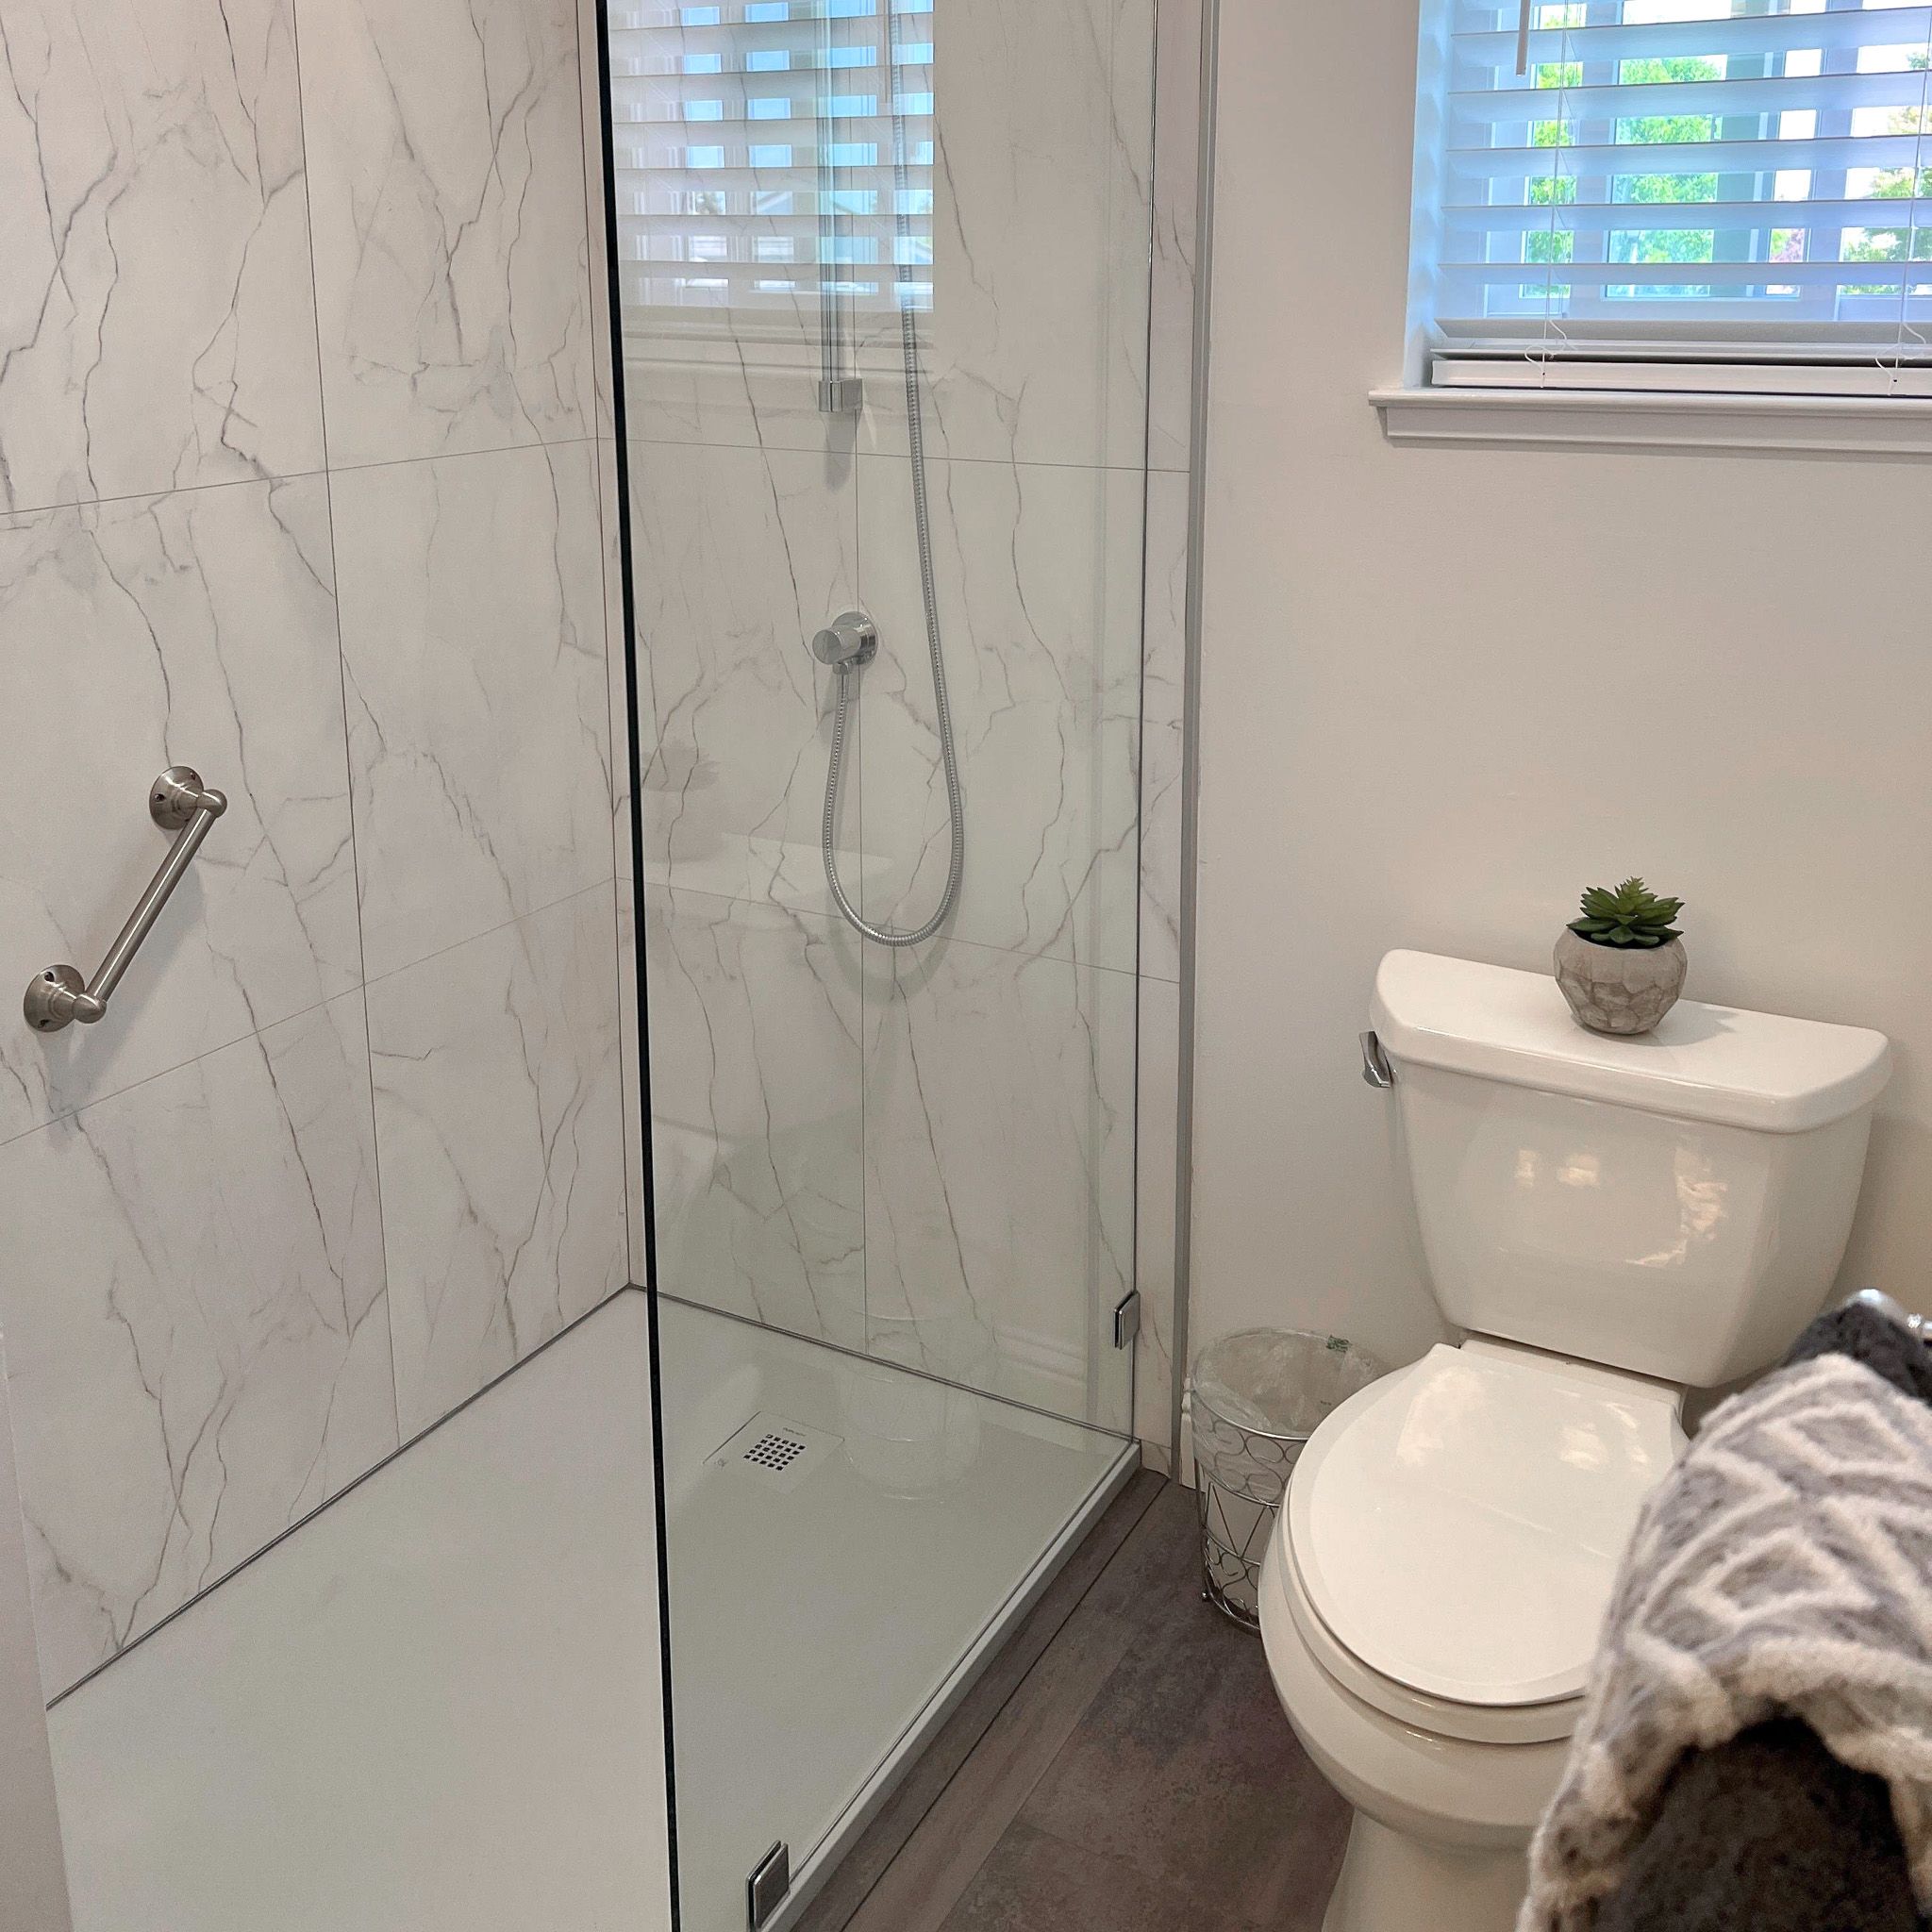
Credit: framelessshowersystems.com
Choosing The Right Shower Enclosure
Picking the right shower enclosure makes your bathroom look neat and stylish. It also keeps water inside your shower area.
Think about your space and style before choosing. This helps you find the best fit for your bathroom.
Types Of Shower Enclosures
There are many shower enclosure styles. Each type fits different bathroom shapes and sizes.
- Sliding door enclosures save space and work well in small bathrooms.
- Pivot door enclosures open outward like a regular door.
- Bi-fold door enclosures fold in, good for tight spaces.
- Walk-in enclosures have no doors and provide easy access.
- Corner enclosures fit in corners and use space efficiently.
Materials And Finishes
Materials affect durability and style. Choose finishes that match your bathroom look.
- Glass is popular and easy to clean. It can be clear, frosted, or textured.
- Aluminum frames are light and resist rust.
- Stainless steel frames are strong and last long.
- Plastic or acrylic panels are budget-friendly and easy to install.
- Chrome and brushed nickel are common finish choices for frames and handles.
Measuring Your Space
Measure your shower space carefully before buying. Accurate measurements prevent fitting issues.
Measure width, height, and depth. Check for any obstructions like taps or shelves.
- Use a tape measure for exact numbers.
- Write down all measurements clearly.
- Double-check measurements before ordering your enclosure.
Gathering Essential Tools And Materials
Building a DIY shower enclosure requires the right tools and materials. Getting everything ready first helps your project go smoothly.
This guide covers the basic tools, quality materials, and safety gear you need for your shower enclosure.
Basic Tools Needed
You need some basic tools to build a shower enclosure. These tools help you measure, cut, and install parts correctly.
- Measuring tape to get accurate dimensions
- Level to ensure surfaces are straight
- Power drill for screws and holes
- Screwdrivers for assembling parts
- Caulking gun to apply sealant
- Glass suction cups for safe glass handling
- Utility knife for trimming materials
Selecting Quality Materials
Choose materials that are strong and water-resistant. Good materials make your shower last longer and look better.
- Tempered glass for safety and durability
- Aluminum or stainless steel frames to avoid rust
- Waterproof sealant to prevent leaks
- High-quality hinges and handles for smooth operation
- Backer board or cement board for wall support
Safety Gear
Safety gear protects you during installation. Wear these items to reduce injury risks.
- Safety glasses to protect your eyes
- Work gloves to prevent cuts and scrapes
- Hearing protection if using loud tools
- Dust mask to avoid inhaling particles
- Non-slip shoes to keep steady on wet floors
Preparing Your Bathroom Space
Before building a shower enclosure, you need to get your bathroom ready. This helps make the process smooth and safe.
Preparing the space means removing old parts, cleaning well, and checking for problems. These steps save time later.
Removing Old Fixtures
Take out any old shower doors, curtains, or panels. Remove shower heads and taps if needed. This clears the area for the new enclosure.
Use tools like screwdrivers and wrenches carefully. Keep screws and small parts in a safe place for reuse or disposal.
- Turn off water supply before removal
- Unscrew fixtures gently to avoid damage
- Remove old caulk or sealant with a scraper
- Dispose of broken parts properly
Cleaning And Drying The Area
Clean the walls and floor where the enclosure will go. Remove soap scum, dirt, and old adhesive. A clean area helps new parts stick well.
Dry the space completely after cleaning. Moisture can cause mold and stop sealants from setting. Use fans or towels to speed drying.
- Scrub with bathroom cleaner or vinegar
- Rinse surfaces with water
- Wipe dry with a clean cloth
- Use a fan for faster drying
Checking For Plumbing Issues
Look for leaks or damaged pipes before installing your shower enclosure. Fix any problems to avoid water damage later.
Test taps and drains to make sure they work well. Check water pressure and drainage flow. Plumbing must be in good shape for your new shower.
- Check for dripping or wet spots
- Inspect pipe joints for cracks
- Run water to test pressure and drainage
- Call a plumber if you find issues
Step-by-step Installation Guide
Installing a shower enclosure yourself can save money and give you control over the design. This guide explains each step clearly and simply.
Follow these instructions carefully to install your shower enclosure properly and safely.
Installing The Base Or Tray
Start by placing the base or tray in the desired shower area. Make sure the floor is clean and level before installation.
Use a spirit level to check for evenness. If needed, apply a thin layer of mortar to level the base.
- Clear the floor of dust and debris
- Test fit the base in the shower space
- Use a level to check the surface
- Add mortar under the base if uneven
- Secure the base according to the manufacturer’s instructions
Fitting The Shower Walls
Attach the shower walls to the base and the surrounding walls. Check that all panels fit tightly without gaps.
Use screws or adhesive as recommended. Seal the edges with waterproof silicone to prevent leaks.
- Position walls carefully on the base
- Fix panels with screws or adhesive
- Seal all joints with silicone
- Wipe off any excess sealant
Securing The Frame
Install the frame around the shower walls for stability. Make sure it is level and square before tightening all screws.
Check that the frame supports the walls firmly to avoid movement or leaks later on.
- Align the frame with shower walls
- Use a level to check alignment
- Tighten screws securely
- Ensure frame is flush with walls and base
Adding Doors And Seals
Attach the shower doors to the frame using the hinges provided. Check that doors open and close smoothly.
Fit seals along the edges of the doors to keep water inside the enclosure. Replace any worn seals for a tight fit.
- Fix doors to frame hinges
- Test door movement
- Install door seals along edges
- Check for gaps and adjust seals
Finishing Touches For A Polished Look
Adding finishing touches to your DIY shower enclosure makes it look complete. Small details help the space feel clean and neat.
Focus on sealing, hardware, and cleaning to keep your shower enclosure looking great for years.
Sealing Joints And Edges
Sealing the joints and edges stops water from leaking outside the shower. Use silicone sealant made for bathrooms.
Apply a smooth bead of sealant along all glass edges and where the enclosure meets the wall or floor. Let it dry fully before use.
- Clean surfaces before sealing
- Use painter’s tape for straight lines
- Apply sealant evenly without gaps
- Allow sealant to cure as per instructions
Installing Hardware And Accessories
Adding hardware like handles and towel bars improves shower use. Choose rust-resistant metal for durability.
Follow the manufacturer’s instructions to fix hardware firmly. Check that doors open and close smoothly after installation.
- Use proper anchors for wall type
- Measure carefully before drilling holes
- Tighten screws without overdoing it
- Test all moving parts after installation
Cleaning And Maintenance Tips
Keep your shower enclosure clean to prevent buildup of soap and mold. Clean it regularly with mild cleaners.
Dry glass and metal parts after each use to avoid water spots. Check seals and hardware often to catch any problems early.
- Use soft cloths or sponges for cleaning
- Avoid harsh chemicals that damage surfaces
- Fix leaks or loose parts quickly
- Ventilate bathroom to reduce moisture
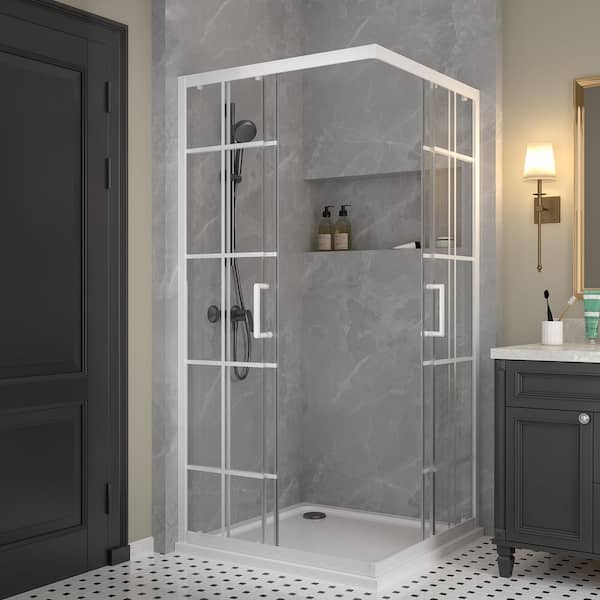
Credit: www.homedepot.com
Troubleshooting Common Issues
Building a DIY shower enclosure can be rewarding but comes with challenges. Some common problems may arise during use.
Knowing how to fix these issues helps keep your shower working well and looking good.
Dealing With Leaks
Leaks are a common problem in shower enclosures. They can cause water damage if not fixed quickly.
Check seals and joints for gaps or cracks. Use waterproof sealant to close any openings.
- Inspect door seals for wear or damage
- Replace broken or missing caulking
- Make sure glass panels fit tightly
- Check the shower base for cracks
Adjusting Door Alignment
Doors that don’t close properly can cause leaks and look bad. Proper alignment is key for smooth operation.
Use the adjustment screws on the hinges to level the door. Make small changes and test the door often.
- Check if the door is level with a spirit level
- Tighten or loosen screws on the hinges
- Adjust the door height if it drags on the floor
- Ensure the door latch meets the frame securely
Handling Mold And Mildew
Mold and mildew grow easily in wet places like showers. They can cause stains and bad smells.
Clean mold regularly and keep the shower dry. Use mold-resistant cleaners to stop growth.
- Ventilate the bathroom after showers
- Wipe down walls and doors to remove water
- Use a mold-killing spray weekly
- Replace old or damaged grout and caulk
Budget-friendly Tips And Hacks
Building a shower enclosure can be costly. You can save money by planning well.
These tips help you create a nice enclosure without spending too much.
Saving On Materials
Choose affordable materials that still look good and last long. Look for sales and discounts.
Buy only what you need to avoid waste. Compare prices from different stores.
- Use acrylic or fiberglass instead of glass
- Buy leftover tiles or panels from stores
- Shop at local hardware stores for deals
- Measure carefully to avoid extra purchases
Diy Vs. Professional Help
Doing the work yourself saves money but takes time and skill. Professionals cost more but finish faster.
Choose DIY if you are good with tools and have patience. Get help if you want a perfect finish or have little experience.
- DIY lowers labor costs
- Professionals ensure safety and quality
- DIY needs tools and some skills
- Professionals finish faster
Upcycling And Repurposing
Use old materials to create parts of your shower enclosure. This cuts costs and helps the environment.
Look for items like glass doors or tiles you can clean and reuse. This makes your project unique and cheap.
- Use old glass panels as shower walls
- Repurpose wood for framing
- Clean and reuse tiles from other projects
- Check thrift stores for materials
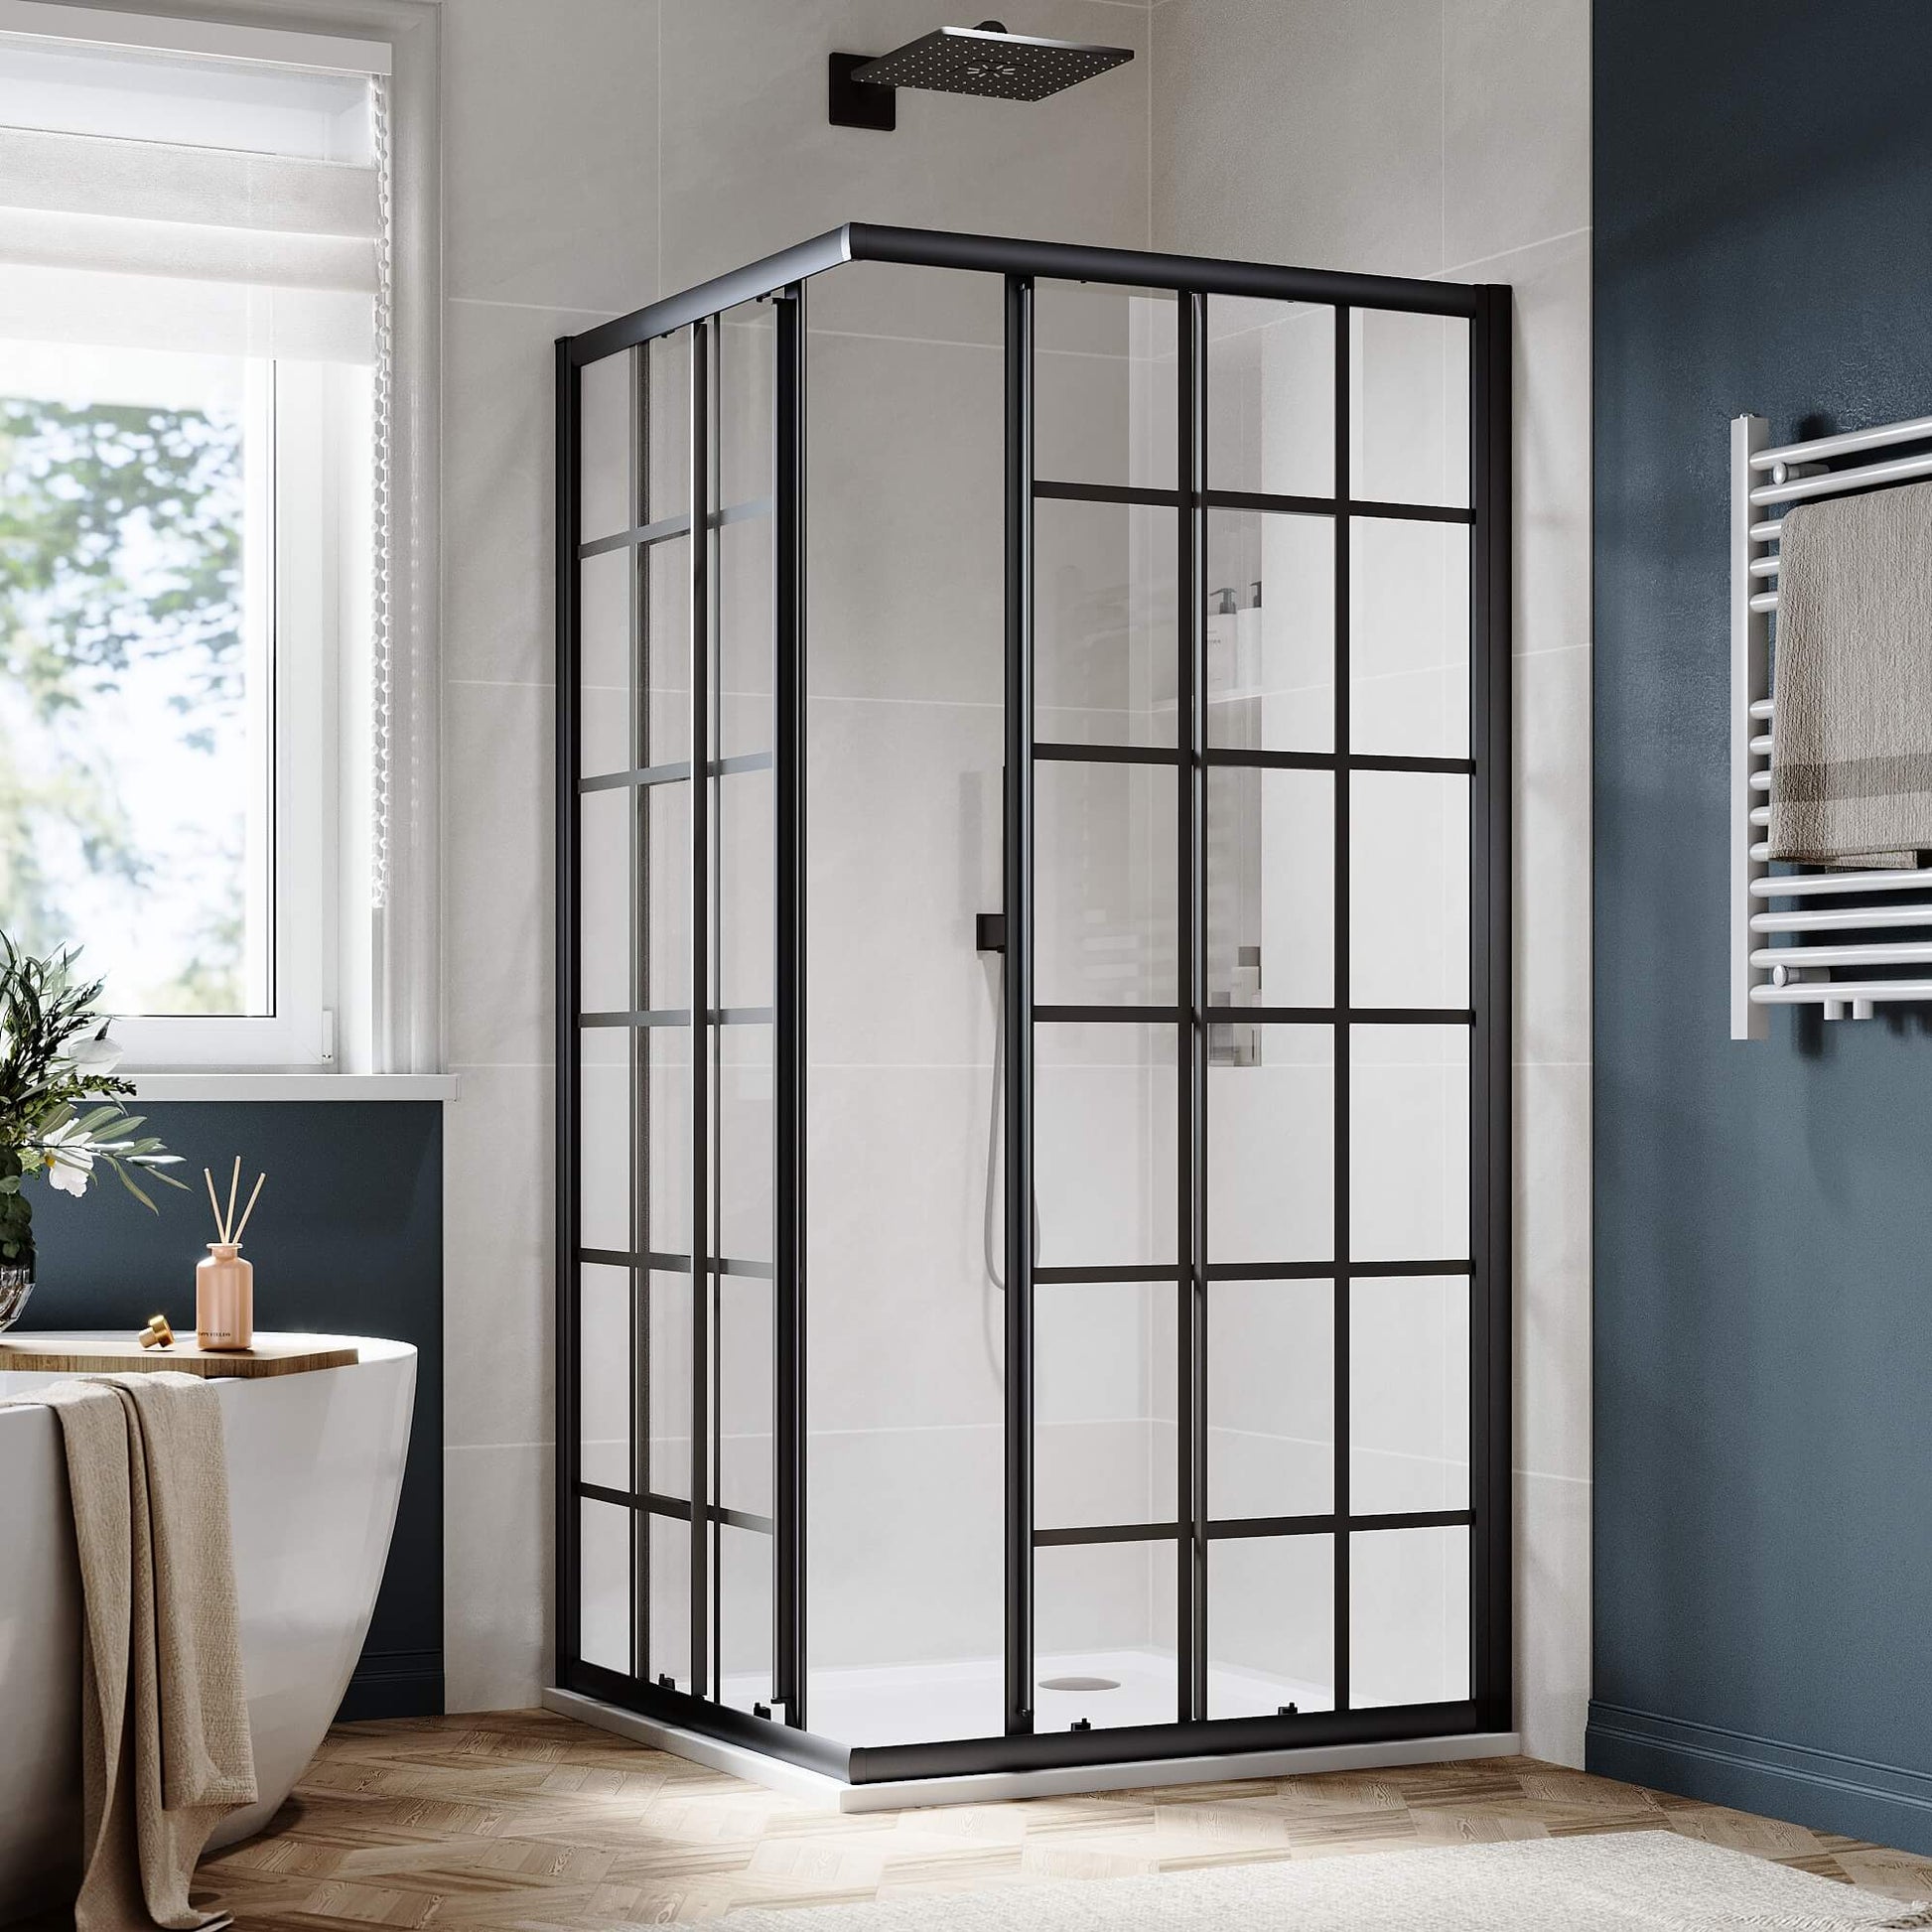
Credit: sunnyshowerusainc.com
Frequently Asked Questions
What Tools Are Needed For A Diy Shower Enclosure?
For a DIY shower enclosure, you’ll need a drill, screwdriver, measuring tape, spirit level, and silicone sealant. Additionally, safety gear like gloves and goggles are essential. Ensure you have all necessary components and fittings. Proper preparation ensures a smoother installation process and enhances the durability of your enclosure.
How Do You Measure For A Shower Enclosure?
Accurate measurements are crucial. Measure the width and height of the shower space precisely. Consider door swing and surrounding space for optimal fit. Double-check measurements to avoid installation errors. Accurate measuring helps in choosing the right enclosure size, ensuring a perfect fit and functionality.
Can I Install A Shower Enclosure Myself?
Yes, with proper tools and instructions, you can install it yourself. Ensure you follow the manufacturer’s guidelines and safety precautions. DIY installation can be cost-effective and satisfying. However, if you’re unsure, consulting a professional can prevent potential issues and ensure a secure installation.
How Long Does It Take To Install?
Installation time varies, typically taking 4 to 6 hours for an average enclosure. Complexity and experience level can affect duration. Preparing all materials beforehand can speed up the process. Taking your time ensures accuracy and reduces the likelihood of mistakes, resulting in a successful installation.
Conclusion
Building a DIY shower enclosure can save money and add style. Simple steps make the process easy and clear. Choosing the right materials helps the enclosure last longer. Measuring carefully avoids mistakes and extra work. Taking your time ensures a neat and safe finish.
Enjoy the pride of creating your own bathroom space. A well-built enclosure improves your home’s value and look. Start small, learn as you go, and feel confident. DIY projects like this bring fun and satisfaction. Your bathroom can be fresh and unique without big costs.
11 min read